Drum recording: how to record your drum tracks even better, without a big budget

Benefit from ambience or mix like the old Motown legends: this is how your drum recordings will become even fatter


Drum recordings are generally complex. The drummer has to play exactly on the click, there are countless risks of noise and resonances, the drums are loud and basically an orchestra of various differing sound sources. Apart from that, recording a drum kit works like any other recording: you set up the microphones, connect them to the interface, to the PC, switch on the DAW and go. Wait, it is also supposed to sound good? We have compiled a few tips for you.

An overview:


Start drum recording with overhead mics and fill in individually

With a strategic approach you might gradually get close to an optimum recording. You start with two overhead microphones which are positioned at the same height above your drum kit. Then just record a few bars, preferably a part of the song where you use the whole drum set. Listen to your test recording of the overhead microphones and decide which parts of the drum kit are still too much in the background. At this point you add individual microphones, for example a microphone for the bass drum.

 
Nils Wittrock, singer and guitarist of the band The Hirsch Effekt :

“We live in the age of affordable and good music equipment. I believe you benefit more from using low-priced equipment and putting a lot of time and love into a recording instead.”

Avoid phase problems directly during recording. 'Fix it in the mix' is a makeshift solution, not the goal.

Multi-miking a drum kit can quickly lead to phase problems. These are not always identifiable at first glance. This often results in a recording which sounds 'not quite right'. The bottom line is you try to optimise your recording set-up intuitively without knowing the actual source of the error. More precisely, phase problems lead to sound losses; usually the track sounds hollow or lacks basses.

How do phase problems arise?

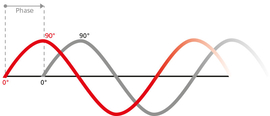
Phase problems always occur when several microphones pick up the same sound source. Sound waves oscillate in regular cycles and - as the name suggests - in wave form. The complete oscillation of a sound wave is called a period.

If several sound waves oscillate together and steadily, they are in phase. However, if they are out of alignment due to different distances between the sound source and the sound receiver, they are out of phase, thus we have a phase shift.

The more the periods drift apart, the worse it gets. With drums, it is even more complicated because there are several microphones picking up several different sound sources at the same time. The more mics, the more difficult it gets. You may have heard of this problem in another context: change 'sound source' to 'speakers' in your mind and 'microphone' to 'ears'. If you set up several PA speakers inexpertly, phase problems may also arise for the audience.


How do you avoid phase problems or fix the drum recordings?

Many microphones, microphone preamplifiers and digital mixers now feature a built-in phase reversal switch. You can also use the equalizer to compensate for the lack of bass caused by the phase shift. But this should only be an emergency solution. It is better if you start off with all microphones at the same distance to the drum set. It is best to measure the distance from the snare and stick to this measurement throughout.

Due to this problem many experienced sound engineers are happy when they may record a drum set with only two or three microphones. It is easier and therefore the end result is often clearer. Basically, however, patience and willingness to experiment pay off here.

Phase problems: is it the speaker?

Attention, phase cancellation can also be caused by speakers being connected incorrectly. It happens time and again that the polarity of a channel is accidentally reversed. The best way to check this is to listen to the mono sum. Does the mix sound thin, without fat basses, is there a general lack of bass? Then you should check the polarity.

Set up your drums in a 'clean' setting: cleaned and tuned

Granted, tuning a drum kit is a pain, which might be the reason why many drums are not tuned even in studios. However, if this is the case, valuable time is wasted because the drum kit simply sounds 'wrong' and has to be edited in the mix.

 
Janosch Held, sound engineer

“An out-of-tune drum kit is a killer for any recording. Snares are often too low-pitched because they have never been retuned - in that case, there is nothing the sound engineer can do at the mixer.”

You can avoid noise and annoying overtones if you set up only what you use. Sure, a huge drum set looks impressive, but in the studio you should think pragmatically.

 
Tommy Newton, music producer

“Tell your drummer to really only set up what he needs. Then there will be no resonances from drum parts that are not being used at all.”

Moongel or damper pads: how to simply readjust toms and snares

With so-called damper pads you can remove annoying, noisy overtones from your drum sound. There is no right or wrong positioning of the pads; you can just experiment a little. Start with a pad on the edge of the tom or snare and find out how the sound changes. The prerequisite is, of course, that the drums are tuned correctly.

Use parallel compression, also called 'New York Drum Trick' or 'Motown Trick'

The so-called 'New York compression technique' is particularly effective for drum recordings. This is because it amplifies the dry, weak or 'musty' drum sounds by a parallel, compressed drum track. For this, you use a dynamic, consistent second audio track, a compressed double of the actual track. You mix this second signal parallel to the original track. And this is how it works: the parallel compression usually happens on an aux channel. You can group all percussive elements via the aux send channel.

Do not send too many loud signals to this aux channel, as we naturally want to avoid clipping and other distortions. So pay attention to the level of the aux send channel. Basically, you can use any stereo compressor. The secret is a high ratio coupled with a low threshold and fast attack and release times. Of course, it is also a matter of taste, but start like this: ratio 8:1, threshold -20, attack at maximum speed and release in the first third of the potentiometer. The aux channel itself does not sound particularly exciting, but if you mix it with the normal drum tracks, you often get a very fat overall picture.
Deliberately use the ambience for your recording

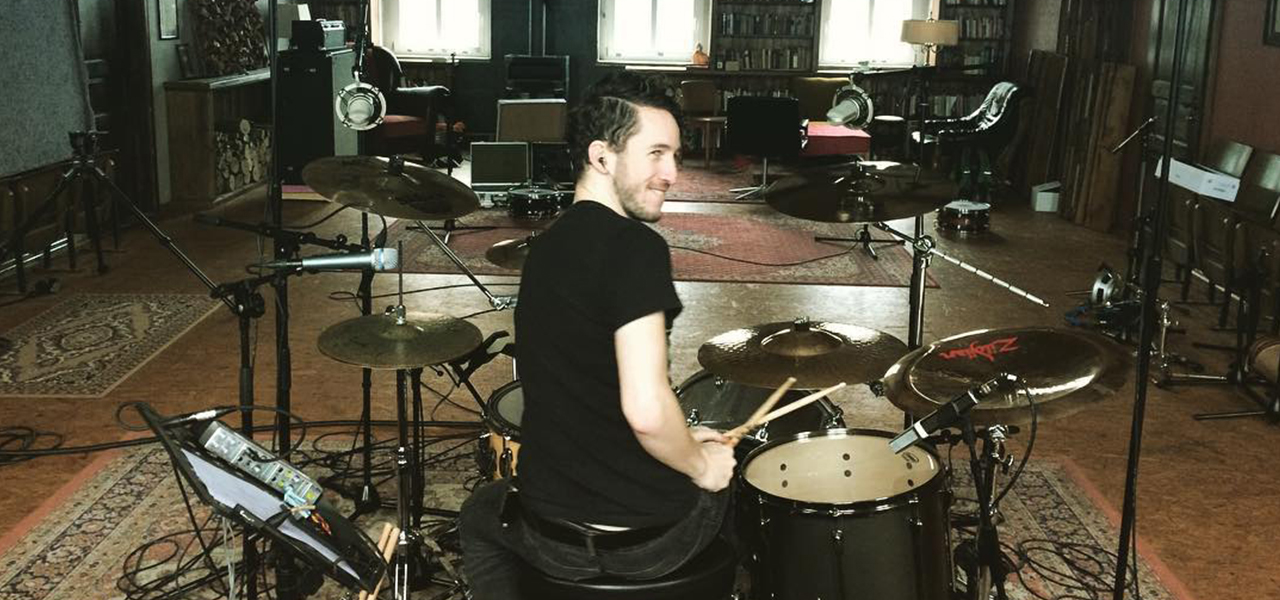
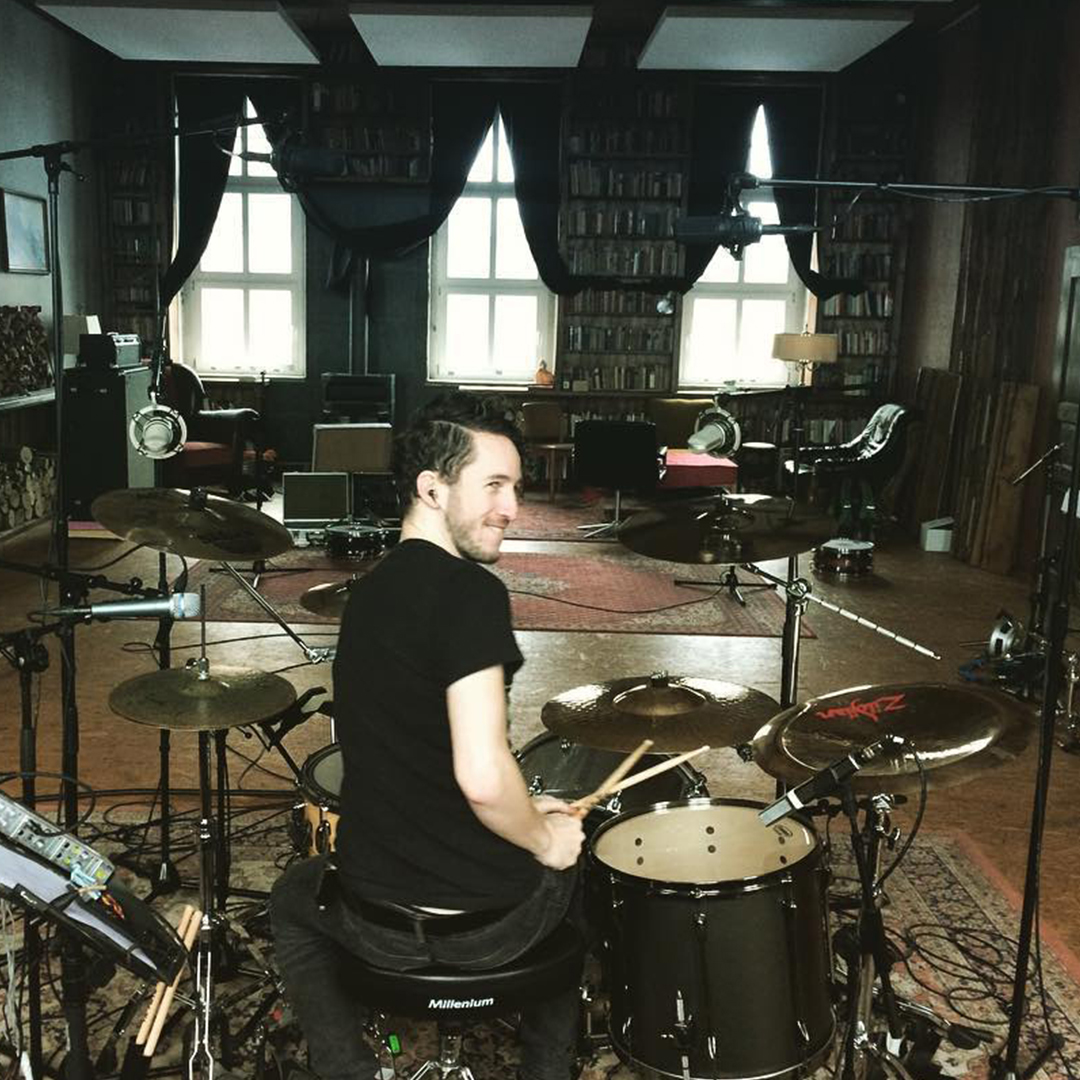
Good room microphones are worth their weight in gold. Some sound engineers even say that the room microphone should be of the highest quality for drum recordings. So you can use a good large diaphragm condenser microphone for the ambience, for example. There is a popular general rule:

Drum recordings are supposed to sound like one drum set, not like several overlapping individual drum tracks.

So in the beginning, focus more on room microphones and overhead mics rather than spending hours thinking about the individual close miking. Think of the mics close to the snare or toms more as an extra, as an optional add-on, if one element is supposed to be more prominent. If you think of it that way, it sounds a bit more 'old-school', similar to the old soul and rock sounds of the 1960s.


Next level ambience: use a resonant drum kit for more live feeling

If you have the luxury of having a second drum kit, try the following: record your drum tracks while another drum kit is in the room. This will give you an additional, very natural resonance from the noise of the other drums. This subtly complements the ambience.

Here is the simpler version with only one drum kit:

  1. Record the drum track and mix it roughly.
  2. Replay the mix via your speakers in a well-proportioned room that also contains your drums.
  3. Record the ambient sound of the drum mix reproduced in this way.
  4. Add this to the mix, voilà, a drum track with a very authentic live sound.

For this, however, you need a room with reasonably good acoustics. So make sure that you improve the acoustics in the rehearsal room before you record the drums there with your band.

 
Nils Wittrock, singer and guitarist of the band The Hirsch Effekt:

“While with regards to guitar and vocals the room is rather negligible, a good drum recording stands or falls with the acoustics.”

Use famous complete solutions: the 'Recorderman technique' and the 'Glyn Johns method'

In the scene, when discussing drum recordings, there are the minimalists and the super-techies with 254 microphones and 12 drum effect plug-ins. And then there is always someone who brings either the 'Recorderman technique' or 'Glyn Johns method' into play. Let us briefly describe both.

You have two microphones? The 'Recorderman technique': minimalism for airy, spacious drum recordings

This method was invented by sound engineer Eric Greedy. You only need two good condenser microphones, preferably the same model. This is how it works:

  1. Take a piece of string. Tie a knot at 80 cm. In case you do not have any string, 80 cm is approximately the length of two normal-sized drumsticks.
  2. Attach the end of the string with a piece of duct tape to the middle of the snare.
  3. Hold the string vertically upwards. The knot shows the exact position of the first microphone, the overhead microphone, which points now exactly to the centre of the snare and hangs exactly at a height of 80 cm.
  4. Now we set up a second microphone that 'looks' from behind over the drummer's right shoulder. It hangs approximately level with the forehead. This microphone behind the shoulder is also directed exactly at the centre of the snare and has exactly the same distance between the microphone capsule and the snare (80 cm).
  5. Since you have just taped a piece of string to the centre of the snare anyway, you can directly measure the distance for the mic behind the shoulder. Or you can use two drumsticks again.
  6. The only thing to keep in mind is that the bass drum must be equidistant from the two microphones. Therefore you have to measure once from the centre of your bass drum if the distance to the overhead microphone and to the microphone behind the shoulder is the same. Then you are ready to go.


This setup not only looks terribly asymmetrical, but is also unfamiliar to the drummer because one mic dangles just above the forehead and another is positioned directly above the right shoulder. However, due to the sound waves' phases it has proven to produce a most pleasant sound. Here is a very descriptive explanatory video:


You have three microphones? The 'Glyn Johns method' is for fuller drum recordings

For this method you need at least three large diaphragm condenser microphones:

  1. The first microphone is the 'side mic'. It is placed to the right of the snare, level with the snare and facing the snare.
  2. The position of the second microphone, the 'top mic', is directly above the snare, pointing to the snare, similar to the Recorderman technique.
  3. The third microphone, the 'front mic', is in front of the bass drum and - like the others - level with the snare and facing the snare.
  4. Optional:  a microphone directly at the bass drum.

The reference point for positioning the microphones is again the snare. The distance between side mic and snare as well as between top mic and snare is the same: 90-110 centimetres. The distance of the third microphone and the snare is the same distance as between the side mic and the top mic. Finally, it is important that the output levels of all three microphones for the snare are approximately the same. So go to the mixer and adjust the level. Now you are ready to go. General rule for mixing: pan the side mic to the right, top mic 2/3 to the right, front mic to the middle.

With our tips for good drum recordings, your next demo or release will be even better. Feel free to browse our magazine further. There we have a lot more content about DIY recording, e.g. how you can record vocals even better.

Pictures by © The Hirsch Effekt