
The basics of home recording
How to start the mixing process with balancing and compression - and some advice regarding the equalizer
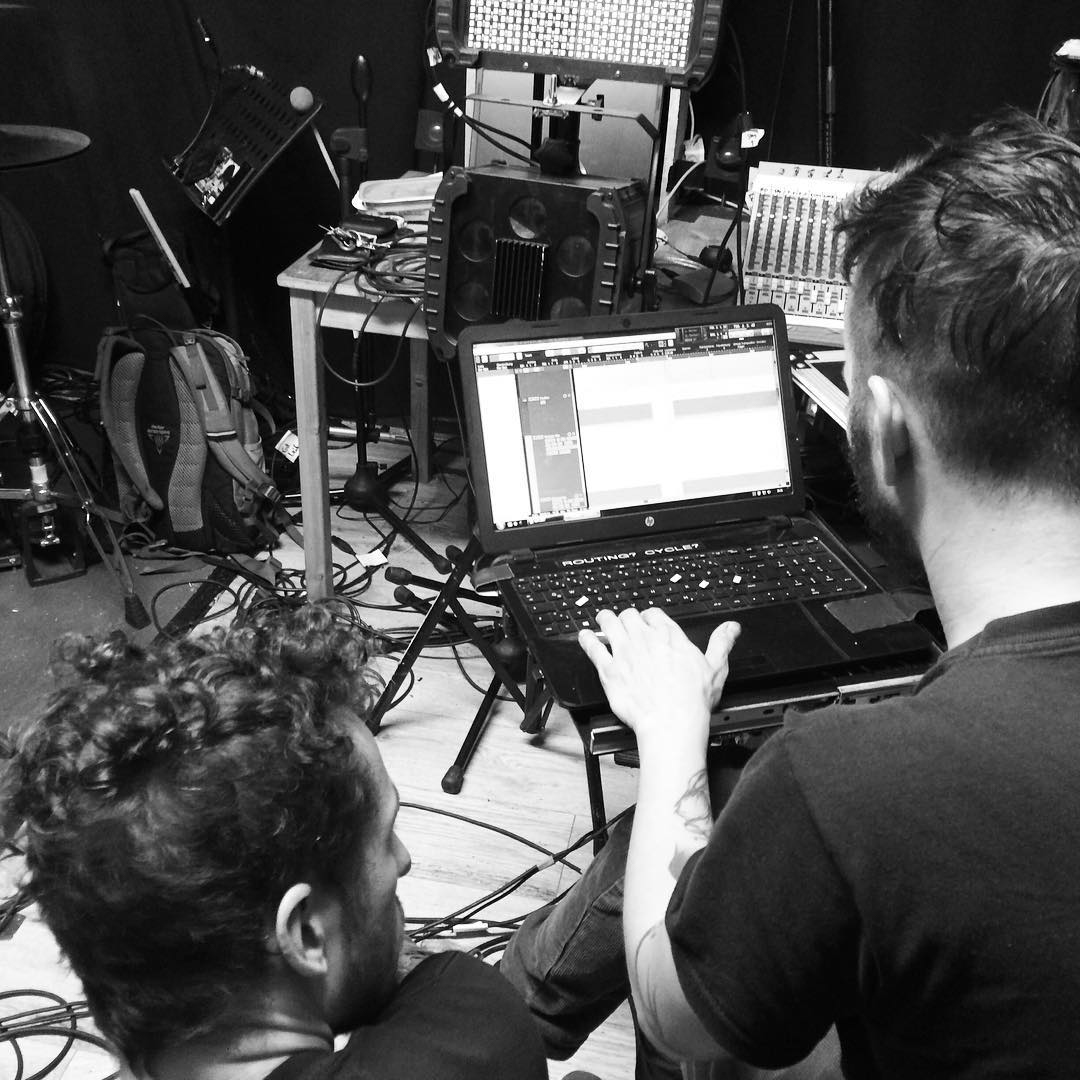
You turned on the amps and selected the microphones? A recording interface is plugged in, the DAW is powered up? In short: you have everything ready to record music yourself? All you have to do now is record the instruments and mix. Here are some tips for your first time, or to be more precise, for the first steps with compressor and equalizer. In home recording, these are the most important and easiest means to put your individual mix on a firm footing. Later, everything else will be based on this foundation.
Good home recording starts with good balancing: volume and panning
Balancing is what most outsiders associate with mixing: to harmonise the volume of individual tracks, i.e. bass, bass variation in the chorus, different guitars, vocals, snare and so on.
Now we could write, whatever sounds good is good balancing. But that would not be very helpful. Of course, sound is very subjective, as Magnus from lala studios told us in his article about the cooperation of musicians and sound engineers. We want to share our experience with you anyway.
Step 1: volume level - which tracks need more power?
Keep in mind that so far you only have the pure recording. There are no digital effects, no equalizer yet. That will be added after we have balanced all instruments. Other effects or plug-ins will be added even later. For now, we concentrate on balancing.
After having recorded all instruments, you should first listen to all unprocessed tracks simultaneously, i.e. 'one above the other', then listen to all of them individually. Decide which elements you want in the foreground. Often the drums, especially the kick drum, are drowned out at first. So pull up the volume and listen again. Start with the kick drum (some call it 'bass drum') and other percussion elements and add the complete instrumental track later. That way, you will gradually get a feeling for how to 'lure out' instruments and elements that are important to you.
The balancing will never be quite finished. It is vital that it forms the foundation right from the start. However, especially if you use effects later on, you will probably need to readjust the balancing.
- First the individual elements of the drums
- When the drum set is recorded, you should classify it as a drum group in the DAW.
- Now, the volume setting for your drums is ideal.
- Next, you should balance drums with other percussion instruments such as tambourines. Ready?
- Now, you have a new group, drums and percussion.
- The bass is next. First you should balance its volume with the drums and percussion group and then group them into a rhythm section.
- This is how you should proceed with the other instruments, guitar, vocals and so on: first take care of the individual elements, then 'related' elements, then the whole group.
Attention, the exception proves the rule. The above order applies especially to typical bands with rhythm instruments and melody instruments. If vocals are the base of your recordings, you might want to record them first, maybe on a rudimentary beat.
Step 2: panning - which track can be heard from which stereo side?
Until now we have thought very much 'in mono'. The great thing about stereo sound, however, is that different sounds come from different directions, thus creating a room-filling sound.
With panning, we separate individual audio tracks spatially from each other. We assign the individual instruments a place in the sound pattern.
Two different crash cymbals could serve as an example. Both are rather heavy on the high frequencies. So we could move one 40% to the left and one 40% to the right in the DAW. You can follow these general rules:
- Basically, let yourself be guided by the structure of the drum kit. Put the kick drum and snare in the middle, different cymbals and toms slightly to the sides. Use two rhythm guitar tracks and move those 100% to the left and right in the DAW.
- Put an electric rhythm guitar on the left and an accompanying piano or keyboard to the right or the other way round, as long as they are separated spatially.
- Split the background vocals: the vocalist with the bass voice is placed in the middle, 2 higher background vocals are moved 100% to the left and right, a midrange background singer is duplicated and placed at 40% to the left and right. In the studio, you have maximum freedom: grab the lead singer and let them also record some higher background vocals, with which they accompany themselves in the hook. Or you could record gang vocals with the whole band, which you duplicate and put left and right.
- It has proved successful to distribute higher frequencies further outwards and keep lower frequencies in the middle.
Compressors make your mix more dynamic and enjoyable
Take a look at an audio track. You see the wave form with both high and low deflections in various degrees. Very sharp deflections can be unpleasantly loud. A compressor compresses the track: it 'scrunches' the high and low deflections in the amplitude. The audio signal in the audio track therefore becomes denser, compressed.
Compressors make an audio track more consistent.
However, this also reduces the dynamics of the track, because the compressor removes particularly high amplitude deflections. So if you compress too much, you get a dull, 'dead' mix.
“You can equip compressors with rules,” says Magnus, producer at
lala studios
In most cases you can specify a threshold value. If the signal exceeds this threshold, the compressor will start automatically. For this you often can specify a ratio. The ratio defines how much the signal will be compressed.
These are the main applications for compressors in home recording: bass, vocals, drums
The main purpose of compressors is to ensure that an interference-free, clear signal flows from the instrument into the DAW. The compressor prevents from the very beginning that the audio track will be recorded with too high deflections (amplitudes). Hence, the compressor is important because it immediately cancels out unwanted signal fluctuations, e.g. in passages that are conspicuously prominent or where very loud, unwanted signal peaks would lead to clipping without the compressor.
Bass guitars
Unless the bass player is remarkably good and experienced, they will produce unwanted noise with the pick or fingers at the pickups. This makes the tracks in the DAW very heterogeneous and difficult to edit. Unwanted interferences might cause clipping directly during recording. And if clippings occur as early as recording, you will hardly be able to remove these errors from your bass mix.
Vocals
The problem is basically the same as with the bass: only exceptionally practised singers are able to prevent 'outliers' in the dynamics. Compressors make the vocals more intelligible and vibrant.
Sometimes even a dynamic microphone will help. Incidentally, most advice on the Internet will tell you otherwise. A dynamic microphone might produce more homogeneous tracks than a condenser microphone, because it picks up a little less detail (mostly in the treble). Some condenser mics, on the other hand, pick up much more of the vocal dynamics. However, this is not always desired. It might take you a while to find the perfect microphone for singing. Our tip: simply sample several microphones also for home recording. Voices are so unique that it is often more effective to simply try out the different microphones than just to read about them.
Top microphone for the snare
Top microphone in this case means the microphone that records above (on top of) the snare, usually on a tripod. For the snare, you can smooth out the noise of the sticks a little with a compressor if you desire a clearer snare sound. That is why a compressor is recommended particularly for the microphone above the snare.
Equalizing is the easiest way to improve results in home recording mixes
With an equalizer you are able to fine-tune your tracks on frequency level. You can, for example, emphasize especially the lower midrange without generally boosting all frequencies in the midrange. This would happen if you would just turn up the midrange. Listen to your tracks at around 85 dB. On that level, it is easiest for the human hearing to register all frequencies.
If panning defines the width of the mix, equalizing determines the 'flying height' of each element in the mix by emphasizing or attenuating certain frequency ranges.
“Digital equalizers sound mostly neutral, analogue equalizers have character,” says Magnus, producer at
lala studios
Many digital equalizers produce a very neutral sound. They actually just do what they say: they change frequencies. Analogue devices (and very good digital emulators of analogue devices) add colour to the signal. Therefore they usually have a particular sound characteristic.
I myself mainly work with digital, i.e. neutral equalizers to clear up signals. That is, I rid the signals of interfering frequencies with precise equalizing, whereas I use digital emulators of analogue devices to amplify frequencies and add that certain something.
In my opinion, you need an analogue equalizer if you record often or if you already know what the final signal should sound like when you record. In that case, you can directly enhance an audio source with the analogue sound characteristics of an equalizer.
The frequency spectrum of equalizing
You want to support the bass range with your equalizer? But where does it start, where does it end? Magnus from lala studios groups frequencies like this:
| 0-30 Hz | Infrasound, which is barely audible or not at all audible to humans, but which can be felt. |
| 30-60 Hz | Sub bass |
| 60-120 Hz | Bass range |
| 120-500 Hz | Bass midrange |
| 500-1200 Hz | Midrange |
| 1,2-6 kHz | Mid-high range |
| 6-15 kHz | High range |
| 15-20 kHz | So-called silky highs, which not all people can hear. |
“Before I run the compressor I always use one of several equalizers,” says Magnus, producer at
lala studios
This way you can pre-mix the track before it goes into the compressor, because the compressor will take everything on the track and squeeze it towards the midrange.
If you do not connect an equalizer ahead of the compressor, the following will happen: low frequencies produce more volume. Your compressor starts at a specific volume limit. So without an equalizer, you will be compressing any low frequencies in the track, although you might want to compress the midrange. This phenomenon is called 'pumping': a compressor starting up due to erratic, mostly low frequencies. Therefore, you should first make a so-called low cut with the equalizer. Trim the bass range before you compress.
On the other hand: try it out deliberately ignoring my advice. That way you will understand why we call it 'pumping'. And it shows the difference between bass frequencies that have been removed by an equalizer and bass frequencies that have just been compressed.
This is what I do:
- Multiband compressor
- Equalizer
- Another compressor
- Equalizer
- Distortion
- Yet another equalizer
By using so many equalizers you prevent gain staging and have always control over your frequencies.

MEQ-115/SW
Graphic equalizer
2-channel version, 2 x 15 frequency controls in 2/3 octave steps Switchable control range ±6/±12 dB Peak LED …
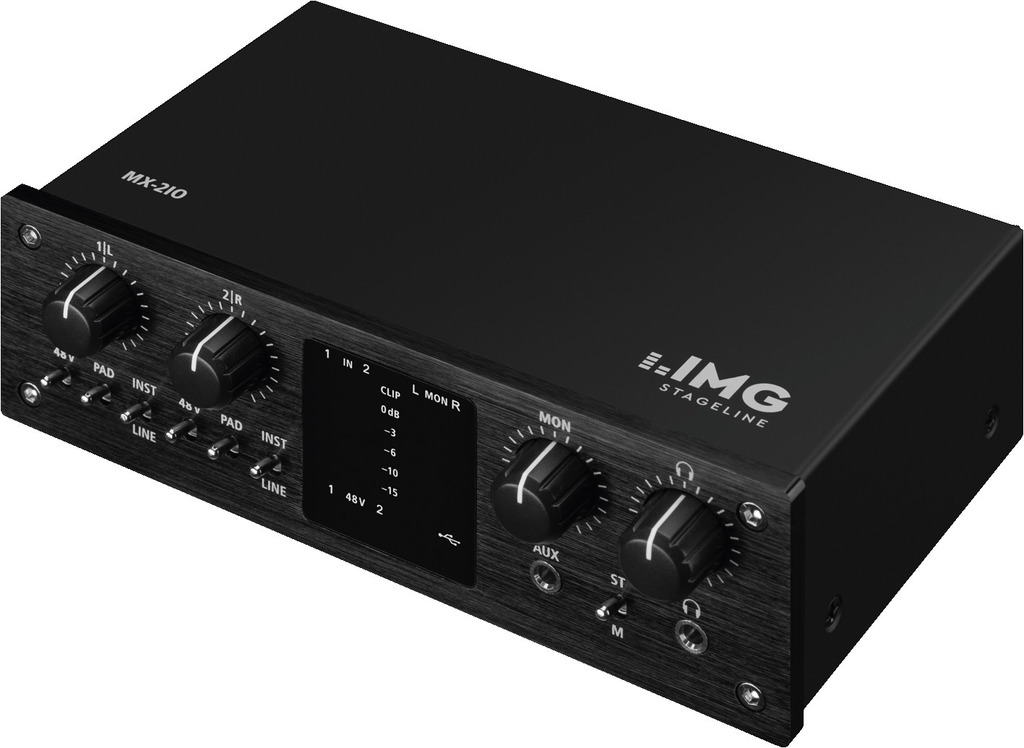
MX-2IO
2-channel USB recording interface
Integrated USB audio interface (will be identified and addressed as an external sound card) Full-duplex…
If you fancy more home recording wisdom now, feel free to browse our magazine. Do you commit one of the standard recording sins? Is there a non-specific humming in your setup? Or do you need inspiration for the right mics? Then we will be happy to help you in our magazine.
Photos ©The Hirsch Effekt