What are you particularly interested in with regard to insulating rehearsal rooms and improving rooms acoustics?
When it comes to the rehearsal room, many bands are content with reliable minimum equipment: wall sockets, a few egg cartons on the wall, a computer and a PA so that the singer can somehow drown out the drummer, even on 15 square metres. It is not hard to sufficiently insulate the rehearsal room and improve room acoustics to record a good demo and keep the peace with your neighbours.
What are you particularly interested in with regard to insulating rehearsal rooms and improving rooms acoustics?
Many musicians confuse sound absorption, insulation and room acoustics. You achieve these three goals with different means which are sometimes the same and sometimes totally different. If your rehearsal room is close to other people's living space, such as a terraced house or the basement in a block of flats, you probably need to look at high-level sound absorption and insulation.
Insulating means that less sound will reach the outside. Sound absorption means that materials 'swallow' certain frequencies.
The two most important areas for insulation are windows and doors. You can glue polystyrene in front of the windows. However, remember to ensure sufficient ventilation if you increase the insulation of your room. Do you know the musty smell in many rehearsal rooms? That is often mould. Only regular ventilation or the purchase of a dehumidifier in a DIY store can help to prevent it.
General rule: mass stops sound, especially that of the bass. Depending on your budget, build in a thicker door and glue polystyrene to the edge. When the door is closed, the polystyrene should overlap with the door frame to ensure a high-level insulation.
Due to polystyrene being flammable, please make sure you have good fire prevention and even a small fire extinguisher in your rehearsal room. Everybody must be aware that polystyrene is not the best way but mass is good for sound absorption. And polystyrene panels are affordable for everyone, unlike expensive acoustic panels. Polystyrene is easy to use and another layer of insulation can easily be added which is another advantage.
Practical tip: polystyrene is best cut with a cutter knife or a special insulation knife, otherwise it will break and crumble. There is also glue available which is suitable especially for polystyrene. This is really worth buying, because it sticks to almost any surface.
Costs: the luxury version of the polystyrene panels is 10 cm thick and costs a maximum of EUR 7.00 per square metre.
A common misconception is that the old cuddly blanket and carpets on the wall noticeably insulate a room. Yes, they attenuate higher frequencies, so everything sounds a bit duller. But the fact is, they only change the sound inwards. They do not, however, prevent the sound from reaching the outside. Especially bass frequencies and the low midrange simply throttle through them.
A 3-layer structure on the wall, on the other hand, has proven to be particularly effective. The important thing about this structure is that the mineral wool lies loosely between two materials. This is done, for example, as follows:
These layers create an air gap where the insulation wool is placed which ensures a high-level sound absorption. This 3-layer construction, however, must be applied all around the room which also includes the ceiling.
By the way, a room which is sound-proof is automatically thermally insulated.
Practical tip: You can use dowels or glue on a wooden frame made of narrow strips to attach the mineral wool.
Costs: Mineral wool to roll out costs about EUR 4.00 per square metre, depending on thickness and quality.
The most effective insulation is the 'room within the room'. A room-in-room construction offers total insulation: a disconnected room which is separated as much as possible from the outer layer or the rest of the building. This means you have to separate the walls of your room from the outside walls of the building as much as possible. In technical jargon it sounds like this: between the exciter (sound source) and the vibrating mass (wall), a 'suspension' (air, rubber, mineral wool) must be included in order for the direct frictional connection to be interrupted. It is like a shock absorber for sound because sound basically consists of air blasts. Such a spring-mass system is also used when craftsmen want to reduce impact sound in residential buildings. The floor then 'floats', i.e. is separated from the false ceiling and transmits almost no sound.
You want solely DIY in the rehearsal room? Then, you can usually only get close to a room-in-room.
Building something like this yourself is expensive. Therefore, you have got two options: you ask a befriended craftsperson if he/she could help you to implement this construction. Or you can use your knowledge from this article to at least come close to a room-in-room construction. Some inspirations:
If you combine these three steps with the measures for walls and doors described in this article, you have already prevented many dB from escaping to the outside world.
Optimising room acoustics is always about one thing: to reduce reverb and flutter echoes, i.e. avoid sound waves bouncing off smooth surfaces or bouncing back and forth between parallel walls. Because this results in a chaos of different sound sources and provides a very undefined sound.
Clearly: For room acoustics, carpet on the floor is quite helpful. Carpet also helps on the walls but there are also more effective measures available.
Absorbers, for example. These are objects that disperse sound, especially the high frequencies and mid-high range. There are also absorber plates which you can glue to the wall in a layer of about five centimetres thick. However, this option is rather expensive.
What does an absorber do? Imagine sound waves like rays. We want to prevent these rays from bouncing straight off walls, windows or concrete surfaces on their way from the speaker to the ear. Acousticians call these surfaces 'reflection points'. It would be better if the first reflection point did not reflect the sound straight away, but picked it up a little and scattered it. Absorbers do that. This also works with egg cartons. However, not very well and therefore only with a large quantity of them.
“You can just buy some wooden slats at the DIY store and use them to build a frame. Then, you put insulation wool into it, pull fabric over it and tack it down well. This is very cost-effective and a few of these DIY absorbers can do a lot in a small room of 20 square metres. And for a powerful bass reproduction, only mass helps. You can put another couch or armchair into the rehearsal room. It helps if there is a lot of stuff in your room and the walls are not completely naked. The only important thing is that there are no smooth concrete walls at which the sound can simply bounce back. It also makes an audible difference to set up the largest pieces of furniture in the rehearsal room in an almost symmetrical way. Otherwise, the hearing is different from every position in the room.”
So an absorber is simply constructed: make a wooden frame, put mineral wool in it, foam on top. You can also stretch so-called pyramid foam over these DIY absorbers.
Or you can also use an old shelf as a frame. Five centimetres of mineral wool and two centimetres of pyramid foam are enough to cover it. This pyramid foam also ensures less reverberation on walls and ceilings.
Okay, you have built absorbers, but where do you put them? That is easy: an absorber should be placed between the first reflection point and the speaker - and you should sit between absorber and speaker. For example, if you were sitting in front of a speaker with a concrete wall behind you, you would hear both the sound of the speaker and the reflection from the wall behind it. This creates an indefinable sound mush.
This is for the following reason: always place or hang the absorber where the sound from the speaker would first hit a smooth surface. This is already very helpful.
Yes, some of these tips are not that easy to implement by hand. But for completely untreated rooms even small, first steps make a big difference. Once you hear the first improvements, you probably want to carry on optimising. Eventually we grow with the requirements of our applications, right?
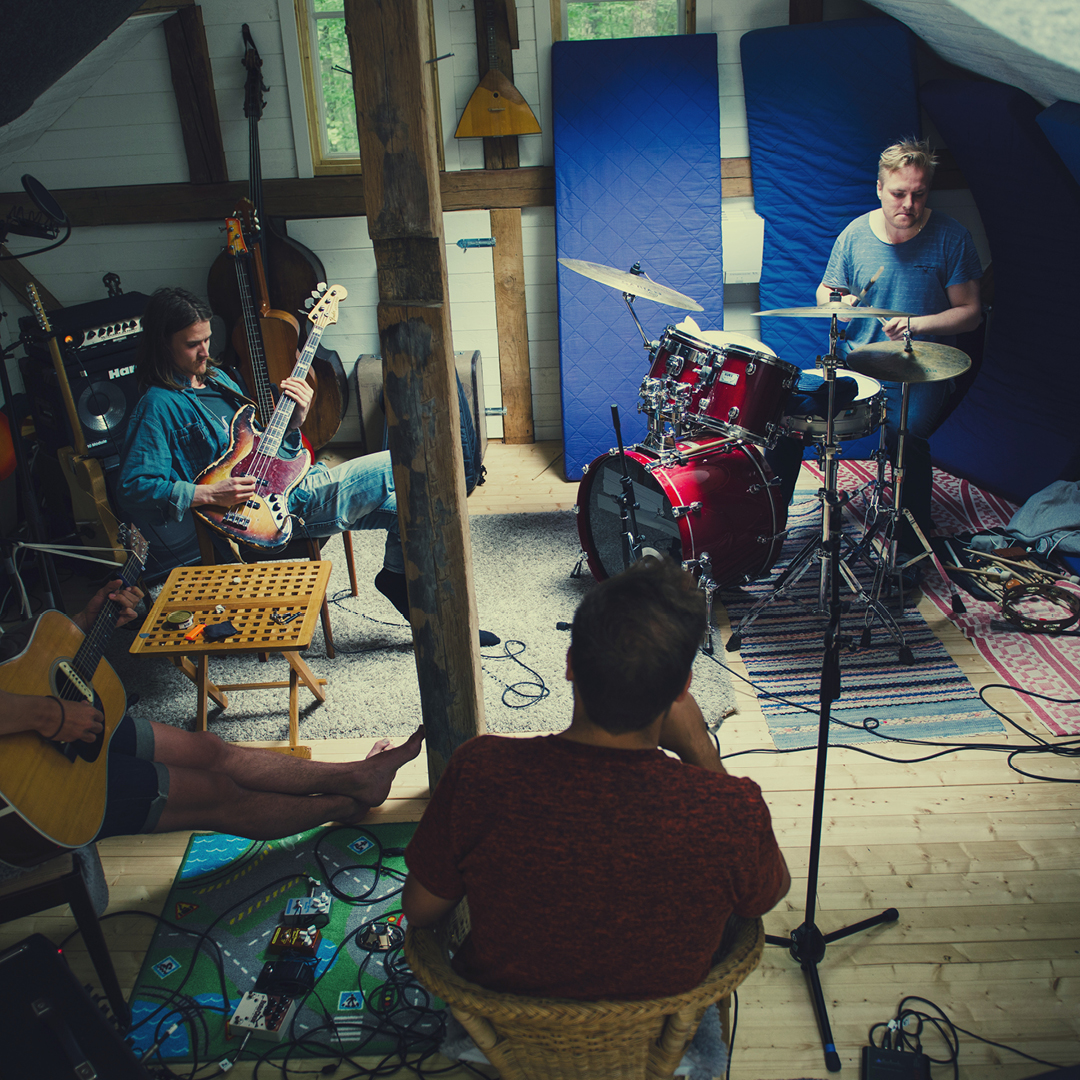
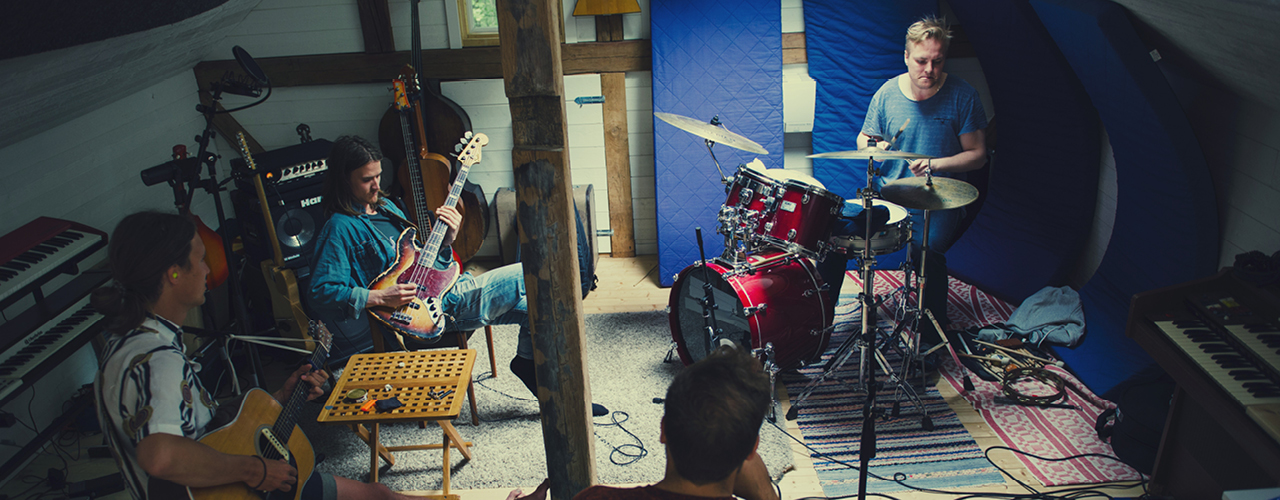
Photos © THE BLAND