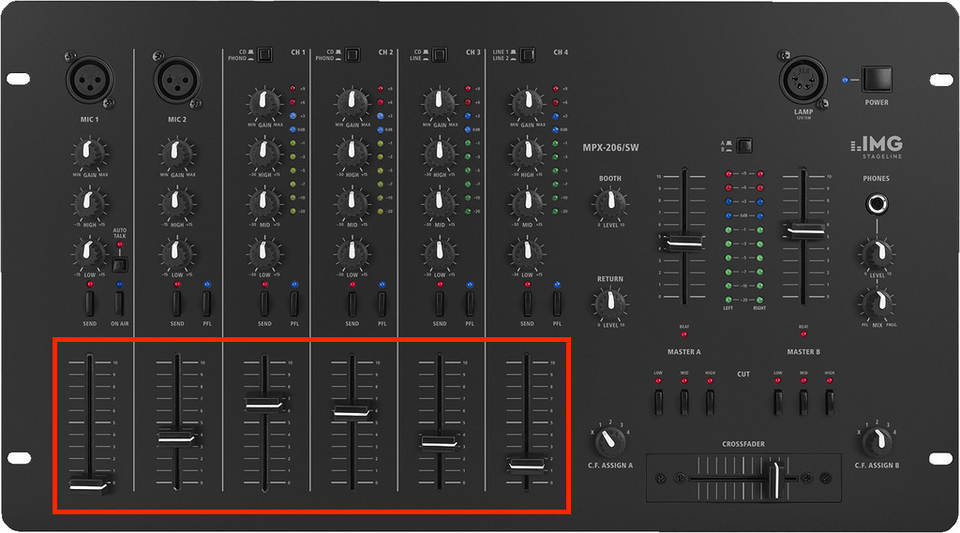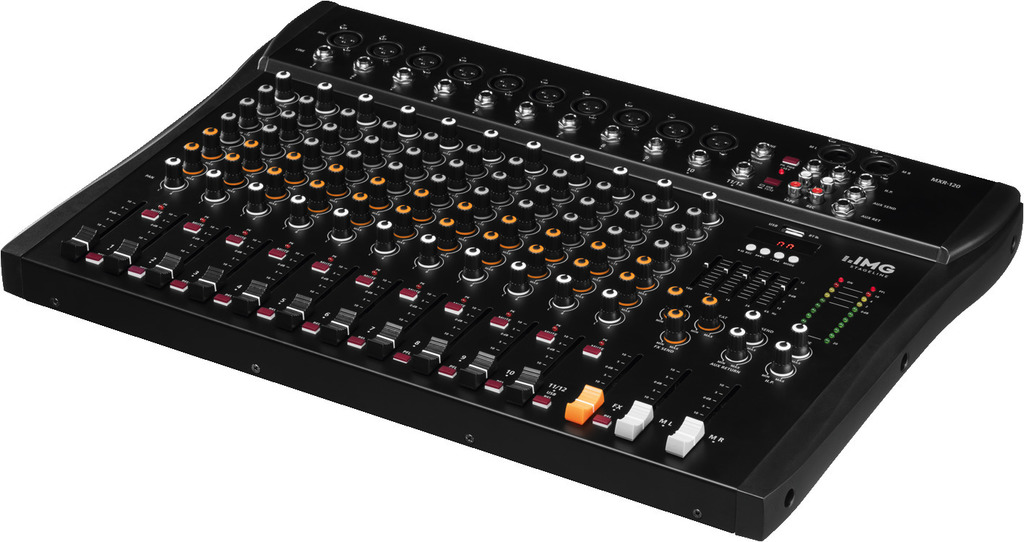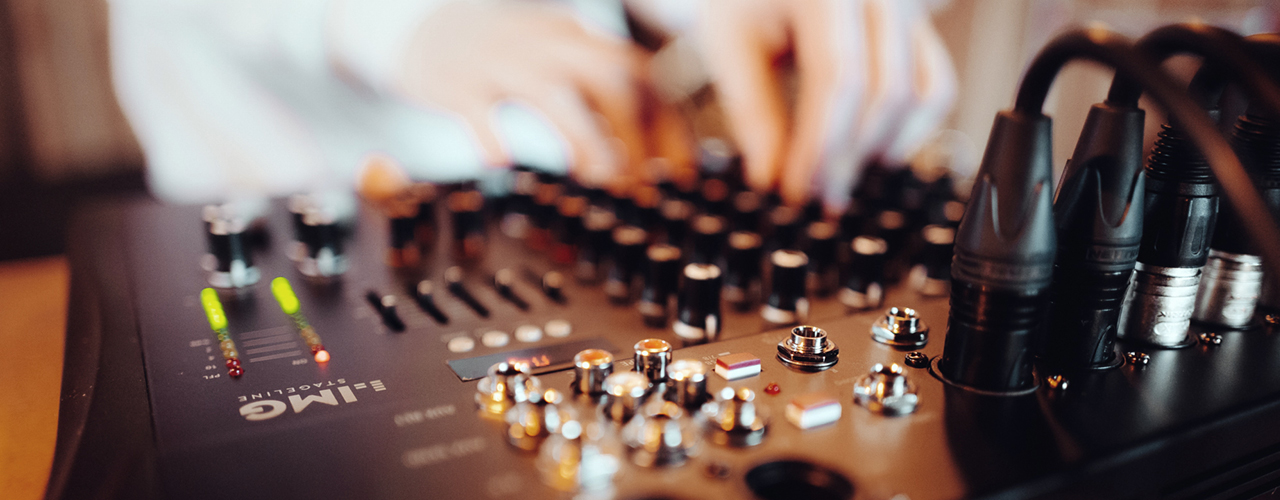
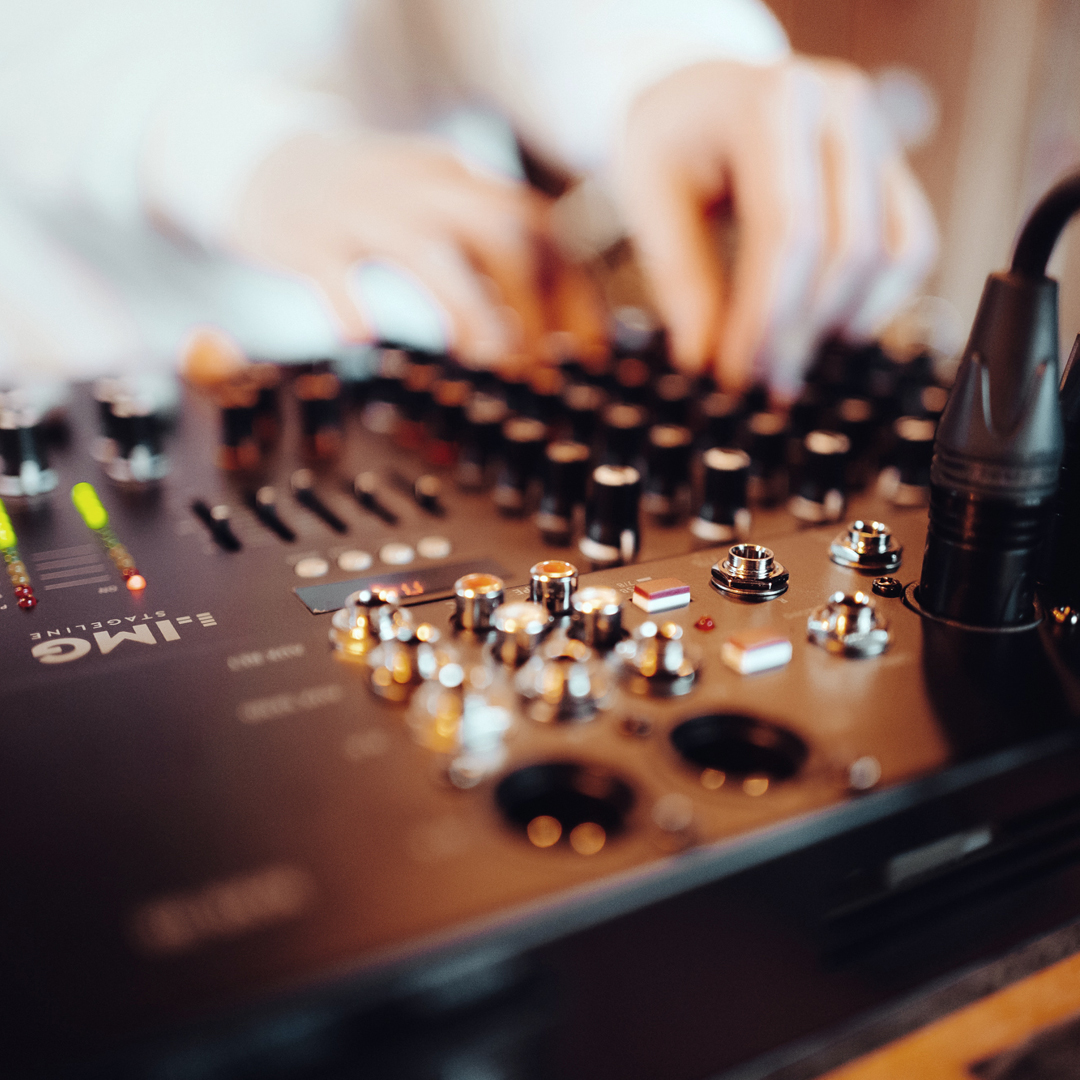
To explain a mixer, we take the MPX-206/SW as an example. We have deliberately chosen a DJ mixer to give both beginner DJs and other musicians a general idea here.
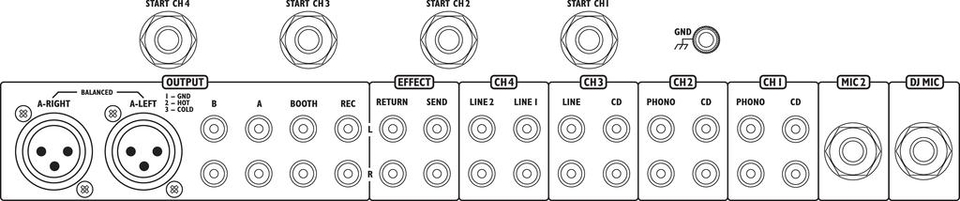
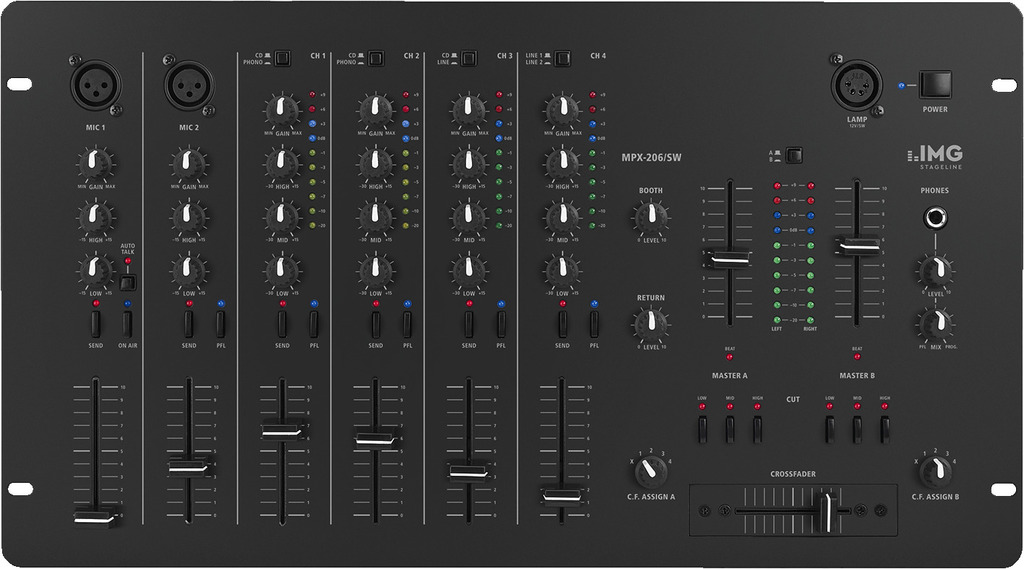
Connections and outputs
Channel faders ('sliders')
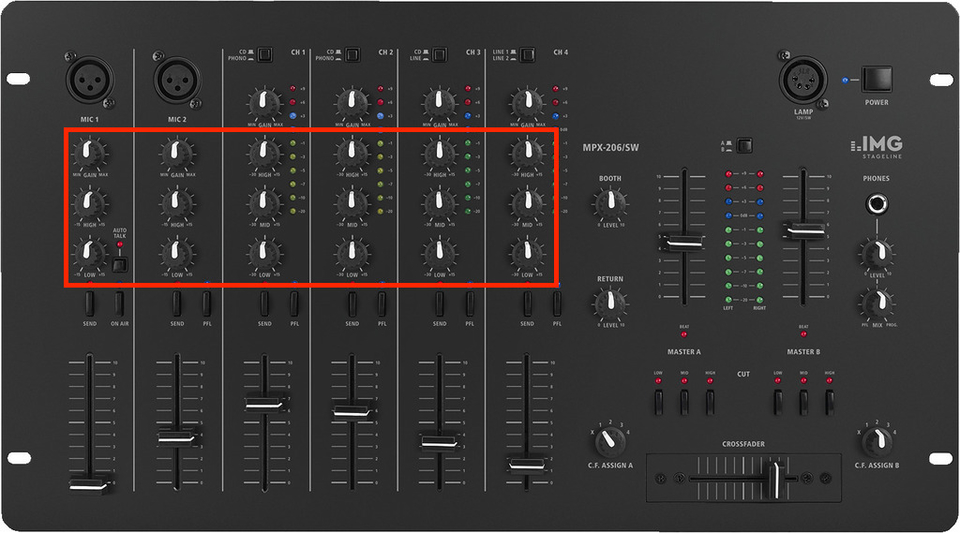
Channel equalizers ('channel EQ')
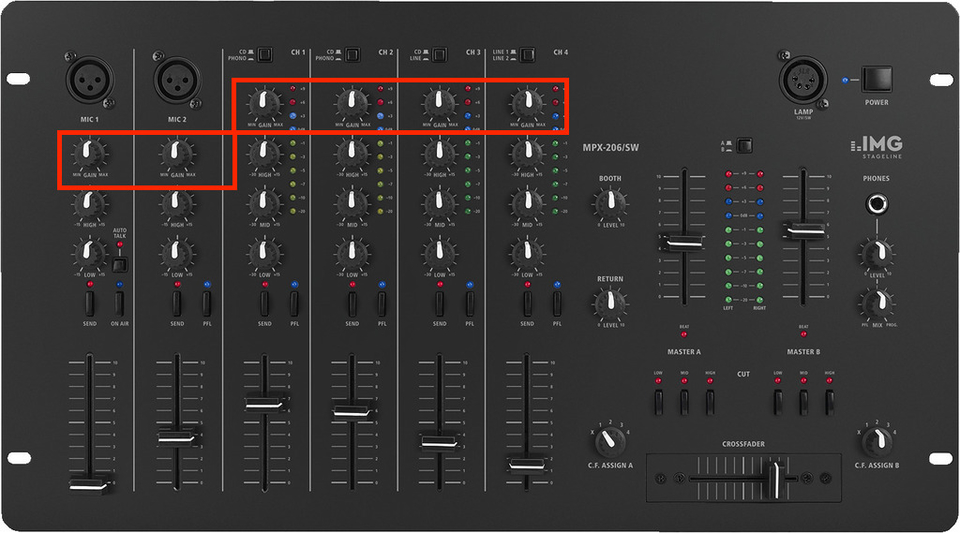
Gain control
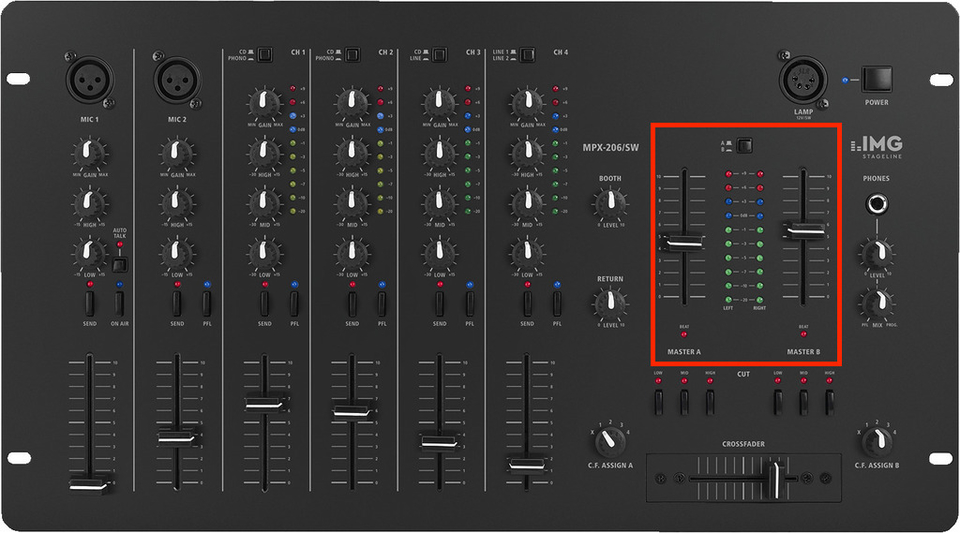
Stereo VU meter and faders for two master channels (in this case)
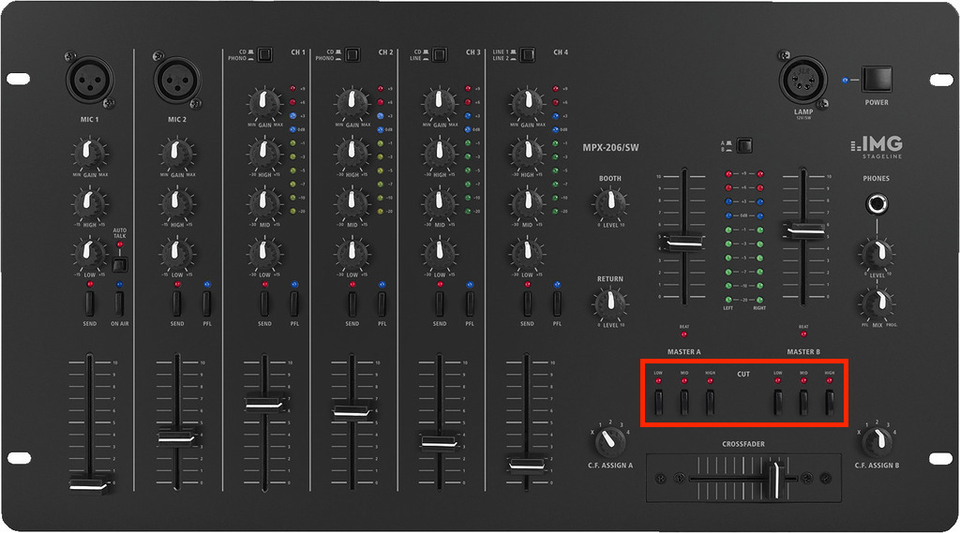
CUT buttons
Crossfader
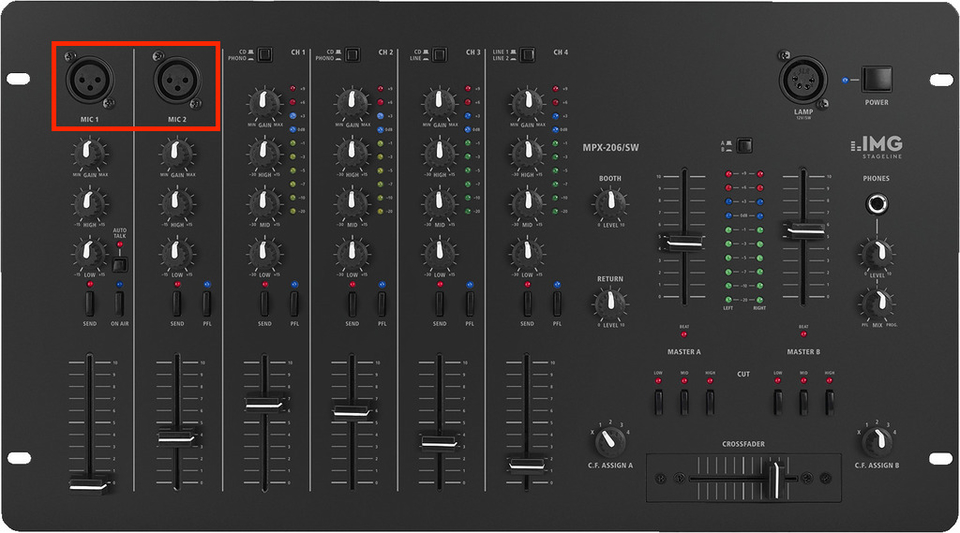
Microphone inputs for DJs and talkover
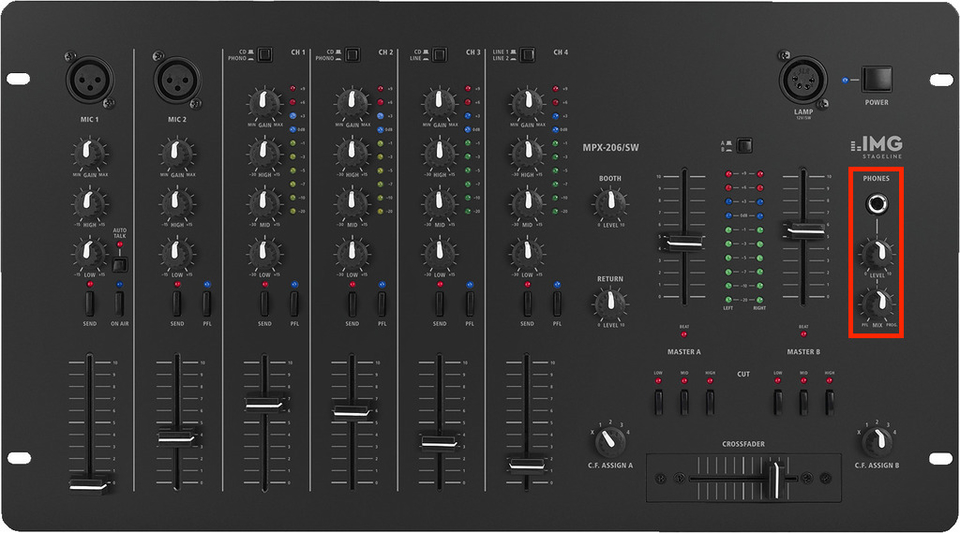
Headphone level control for monitoring
Monitoring potentiometer
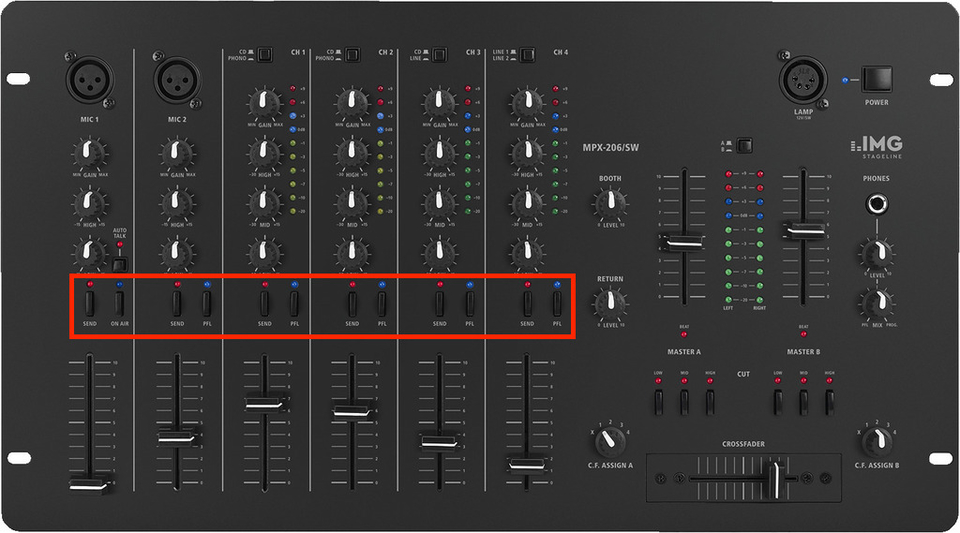
PFL and SEND buttons below the channel strip
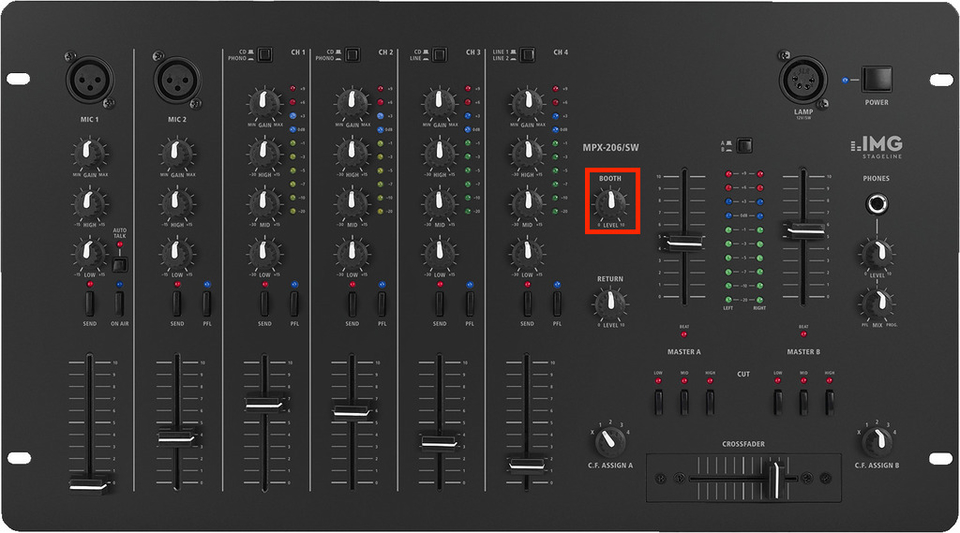
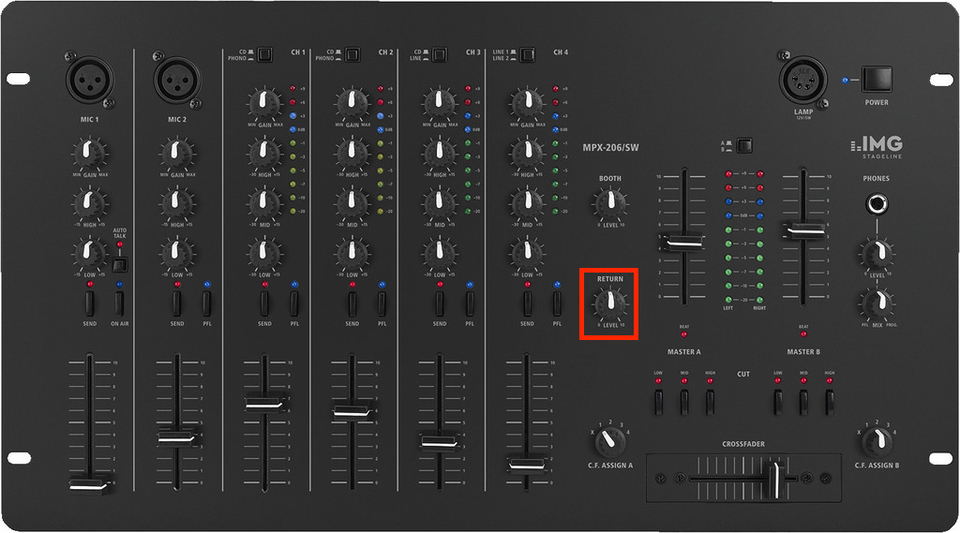
Return control