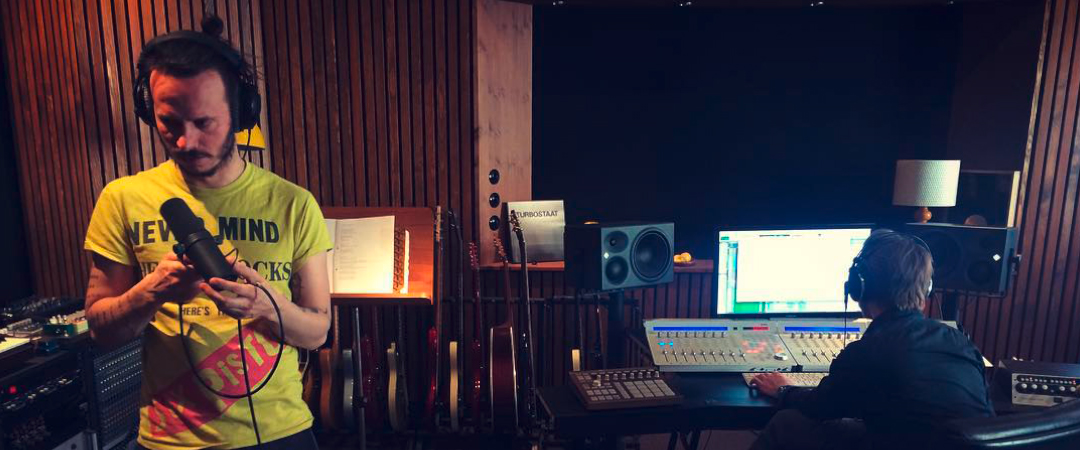
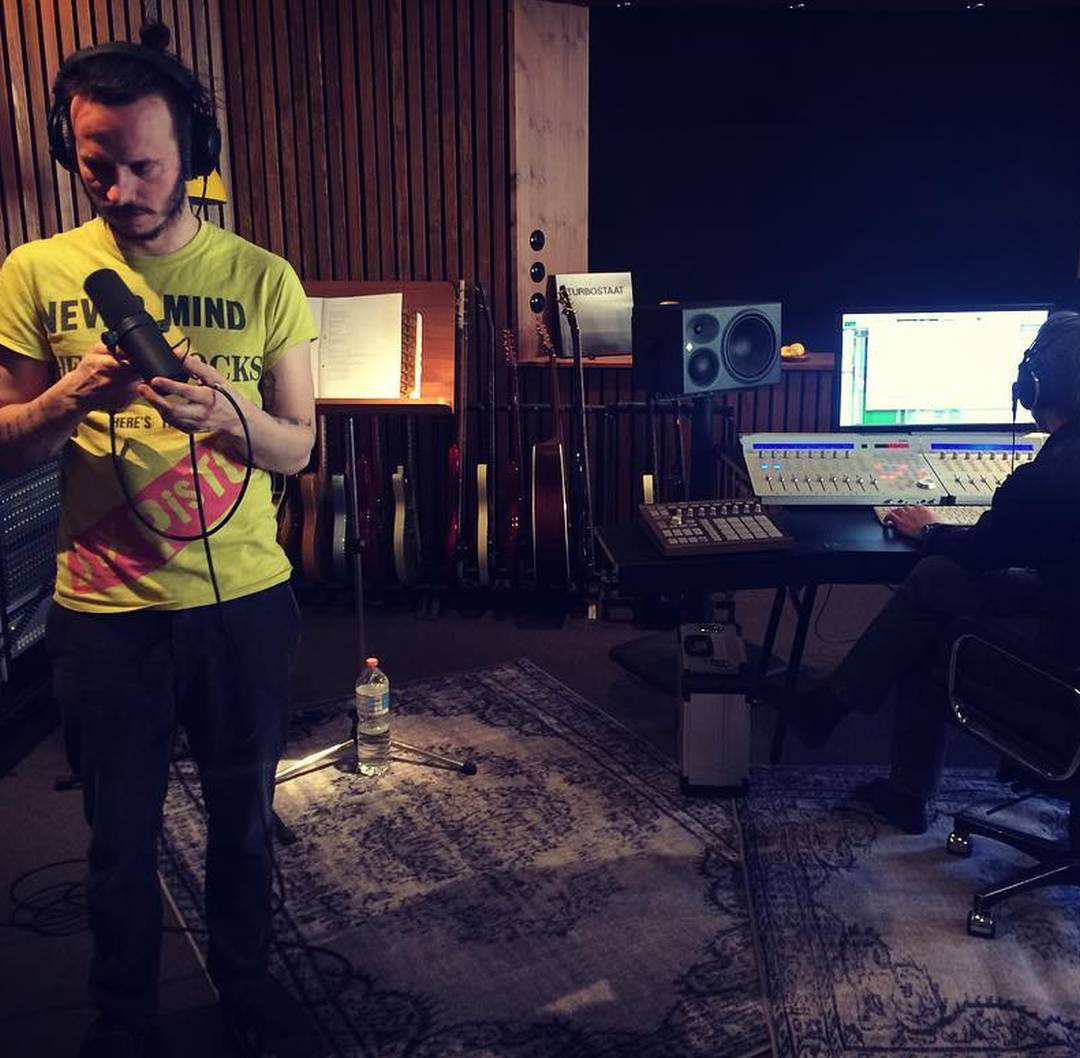
Recording vocals and first steps in editing
We have tips for getting started, if you do your vocal recording at home
"It is a big mistake to suppose that recording in a studio with expensive equipment automatically leads to a very good result,” says Nils Wittrock of the band The Hirsch Effekt. And there may be even more arguments in favour of vocal recordings in your own home. Home recording and DIY are not trends. Instead, they have become a matter of preference for many artists. Especially in times of the pandemic, a decreasing number of bands tape their music in recording studios. For basically, musicians only need three things: a microphone, an easy-to-use interface and a computer. If you already know a little bit about microphones, this article will show you the basics for a clear vocal recording.
You want to record vocals, but have not found the right microphone yet?
Two things are the basis for good vocal recordings: the singer's skills and the microphone's ability to pick up the voice perfectly. So you should choose the microphone carefully. Have a go at rehearsing with a dynamic microphone, another time try out a condenser microphone. If you want to record vocals, all types of omnidirectional microphones are usually a no-go. As far as the technology is concerned, select one of the following:
- Dynamic microphone: often sounds rather down to earth, rough, fewer high frequencies
- Large diaphragm condenser microphone: usually very clean, clear, high-resolution sound
- Small diaphragm condenser microphone: often weaker in the low frequencies, supports a treble-heavy sound
The bedroom is often suitable for recording vocals
If you want to record vocals at home, look for a room with lots of soft surfaces and furniture. Usually the sound in the bedroom is best because it produces the least reverb. In the mix, reverb causes a certain distance and reserve for each instrument. Sometimes this may be desired, but usually we want to record vocals that feel not only close to us, but central. If you have a walk-in wardrobe, an insider tip is to use it as a booth for home recording vocals.
Florian B. from the band
Long Way Home
“In my personal opinion it does not really matter whether the room is too 'dry', i.e. anechoic, or too 'wet', i.e. reverberant, in the DIY recording sector. The band can take it as a stylistic device and intentionally incorporate it into the music. I do not judge that at all. Rooms just sound different. However, you should keep in mind that you have more options to work with the mix in a relatively dry room. You cannot rid the recorded voice of an echo, but you can always edit a dry recording with artificial reverberation.”
Nils W., Sänger und Gitarrist von
The Hirsch Effekt
Free yourself from 'demoitis'
“Try to avoid demoitis generally - even if you are recording vocals. Demoitis is the desire to recreate a rough, fast demo recording accurately but 'somehow better' in the studio. For example, if you have recorded a cool idea quickly as a demo and want to record it in 'higher quality' for a release later. There is a snag, however. I experiment a lot with my voice in demos. Recording it one to one in exactly the same way in the (home) studio is often neither possible nor productive and maybe not even better. Either you accept the different sound, or you just use the recording on the demo.”
The position of the microphone in the room
The positioning in the room, on the other hand, is a little tricky, as you should record neither in the middle of the room nor too close to the wall. Let's take a room of 10 square metres. Put the singer in the corner and let her take two big steps straight ahead towards the middle of the room. There she should record. The microphone is directed at the corner of the room from which the singer started. This corner, which is right behind the singer, is especially important for the acoustics. It is often sufficient to hang a jacket or curtain there.
Before recording, you should test if the microphone transmits sufficient level to the interface and the DAW. If not, you may need a microphone preamplifier. Condenser microphones in particular often benefit from the small devices, as the signal becomes denser and clearer.
Maurice, singer of the band
LIGER
It takes time to record vocals
“We use a voice effects board in live performances so that the voice sounds the same everywhere. In the studio, we rely primarily on a well prepared voice. You can use the most expensive equipment, but if the voice is not lubricated, the result will not be convincing later. Therefore you should always allow extra time for the vocal recordings, so that you can ultimately catch the right moments.”
The position of the microphone in front of the singer
There are a few basic rules for permanently installed microphones regarding the position of the microphone in relation to the singer. The usual distance from the singer is 12-30 centimetres. At a shorter distance, about 12-18 centimetres, the vocals appear warmer, more personal, more intimate. A larger gap also means distance in sound, which becomes more epic, more casual, takes up more space and feels less close.
If the singer has problems with sibilants like 'S' or plosives like 'P', there is a trick: turn the end of the microphone by 20° in one direction. This way the singer sings sideways into the microphone.
The height of the microphone can vary. This has an easily noticeable effect: a microphone that is positioned approximately level with the larynx emphasises bass. A microphone that hangs noticeably higher than the singer's lips also emphasises higher frequencies. The prerequisite - and this is important for the voice - is that the singer always sings with his eyes straight ahead. Lemmy of the band Motörhead did this slightly wrong during his lifetime, because the stretched neck puts a strain on the vocal chords when singing. Nils of the band The Hirsch Effekt knows why he sounded so good anyway.
Nils W., singer and guitarist of the band
The Hirsch Effekt
The performance is more important than technical perfectionism if you want to record authentic, strong vocals
“The performance is more important than perfect recording equipment. The microphone has to help the singer to feel comfortable. In our experience you can hear the energy of the performance, but not the small quality differences between a good dynamic microphone and a large-diaphragm microphone. For very powerful vocals, you can use a dynamic microphone and for quieter passages perhaps a rich, warm ECMS-90. Regarding shouts, growls or vocals that simply need a certain amount of power, I am much more comfortable when I can pick up the microphone. Then energy and performance are simply different. Honestly, which of your fans listens to music and says: 'Aha, there I can hear a different microphone, I don't like that.' No, in the end the performance counts.”
Jesse Garon, singer of the band
Sloppy Joes
“When I took up singing, my first priority was to deliver absolute quality. Recording intonation and precision of tone and timing during singing was extremely important to me. Today I know that it is completely okay to be a little less perfect. Open up to the song before recording the vocals: reflect on what you are singing about and which feelings that might trigger in you. Singing is about expressing emotions, about character, about adding that certain something to the song. Just concentrating on the timing and striking the right notes can get in the way. Feel the song and let it out, even if you do strike a few notes not perfectly.”
The basics for mixing vocals: compressor, equalizer, reverb
However, the work is not done just with recording vocals. It is best if mixer and vocalist listen to the vocal tracks together. Vocal tracks are always very dynamic, even with really good singers. The 'trinity of vocal effects' can help here.
Nils W., singer of the band
The Hirsch Effekt
“During the first recordings for The Hirsch Effekt, I worked on the vocals with the free plug-in 'Kjaerhus Classic Compressor'. It does the job very well and works perfectly with Cubase. By the way, the compressors that Cubase 10 already features are also very useful. To be perfectly frank, when I mix my voice with the equalizer, I always proceed in the same way: starting at 5 kHz, I tune in some treble, then a low cut around 80 Hz and a little midrange at 500 Hz for better speech intelligibility. That way you are not reinventing the wheel, but you have some good basics. And, of course, a little reverb has to be added to almost all voices - preferably even a surround effect and some reverb on top of that - even with screams and growls. Especially in rock music, the signal should not be bone dry in the end.”
Some advice on noise gates and vocals
Since we always hear in forums and from DIY recording sessions that noise gates on vocal tracks would not work, here is some advice: noise gates only sound good if the volume of the track is very homogeneous. Otherwise noise gates sound very different in different places, words in the vocals are chopped off, the recording sounds 'gated'. There are two options:
- You normalise the volume of the vocal track before using the noise gate
- You set individual vocal parts separately on individual tracks; thus you can use the noise gate more selectively.
Headerpicture © The Hirsch Effekt