Audio compressor: How to get the most from your sound

There are still some reserves left. How to set the compressor quickly and correctly and add the final touch to your music

At the beginning we had the word. Well, ok, maybe it was rather your voice, your instrument or both. You do not need an expensive studio or a huge budget in order to record your own music professionally. The solution: recording bundles as an all-round carefree package. If you also edit your recordings properly, you will be able to easily raise your sound to a professional level. This is where the compressor comes into play. We will give you a brief overview of its 5 features to explain what a useful tool it is and not just a roaring machine.


What are you particularly interested in when it comes to sound compression?

  • How does an audio compressor work

  • The areas of application for a compressor

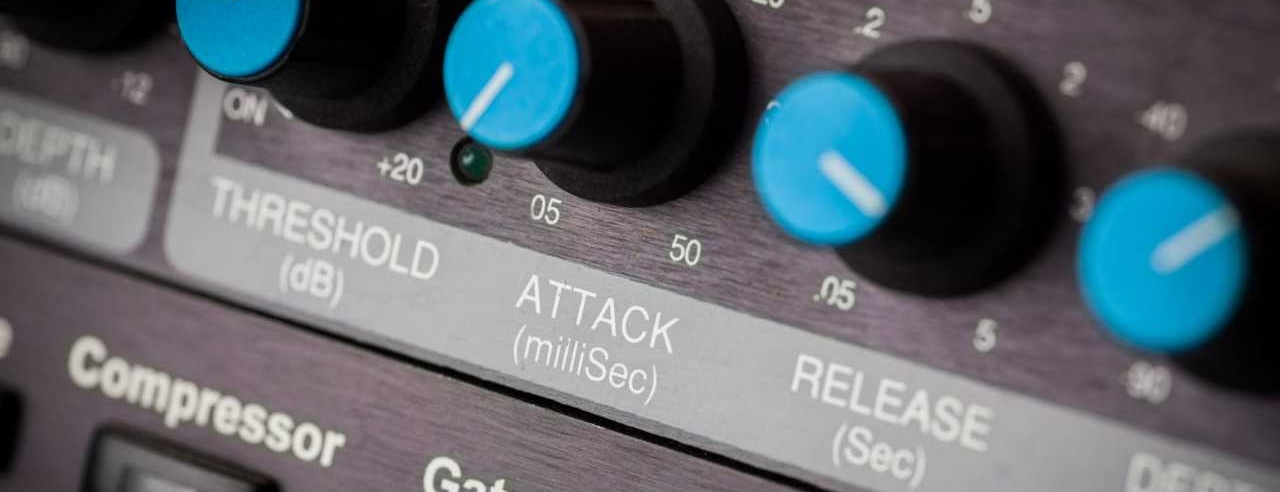
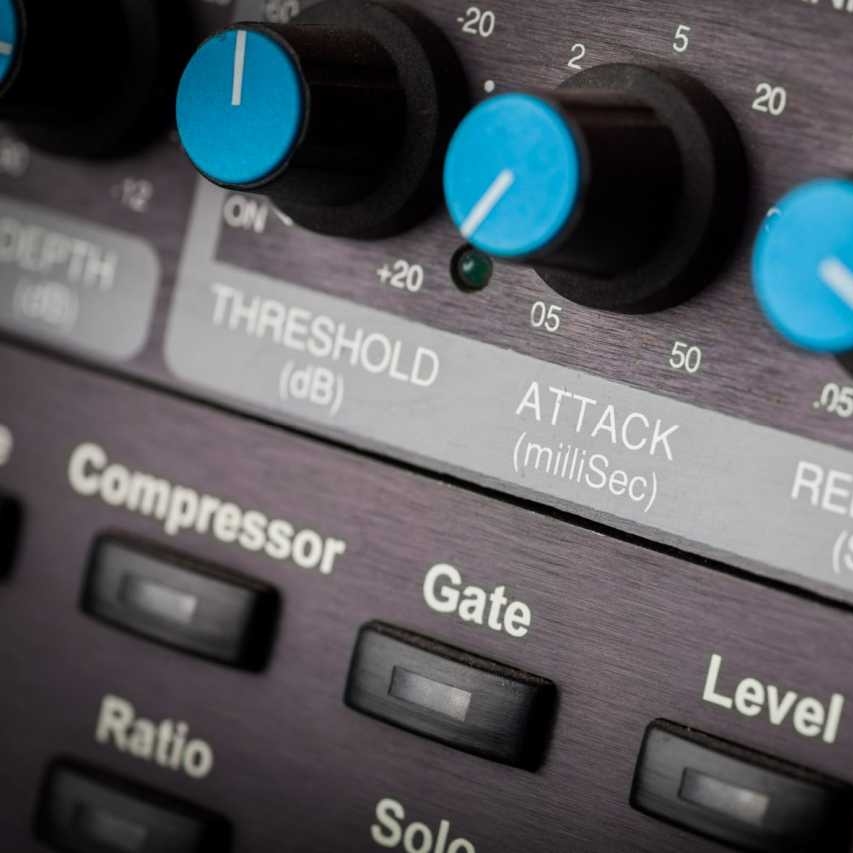
  • Bye-bye extensive reading, hello to an immediate start: a brief overview of the compressor's five settings easily explained

  • For vocals, bass and drums: where to use the compressor

  • Practical tips for producing music

Good to know: the audio compressor ensures a well-balanced recording

Just imagine the recording of your vocals or instrument as a sine wave which fluctuates around a straight line. Music is dynamic which means that there are upward and downward swings. Do you want to create a well-balanced sound? Do you want to keep a steady voice which does not drop in comparison to the instrument? Do you want to emphasise certain parts? This is exactly why the compressor is used. It is like a dynamics controller which can, however, do so much more. Many mixers, such as the DMIX-20/2, feature an integrated compressor. Do not get confused by all those buttons, you will soon get the hang of it.

Before you adjust the compressor: just rely on your senses first

To begin with, select the section of your recorded track to be edited from your audio editing program. In addition to your hearing, it is also useful to take a look at the peaks of the sine wave. Which parts are particularly loud or particularly quiet? Where does the vocals fade into the background in comparison to the instrument? These considerations will give you a first clue as to which areas you should work on.

These five audio compressor settings will facilitate fine-tuning of your sound

Do you want to bring out the bass drum and emphasise it? Do you want to enhance your vocals and bring them to the front? All this and much more is possible and the compressor will help you. Spoiler: you can already achieve results by using threshold and gain.

  • Setting 1: Threshold. Cutting off the peaks, please. The threshold is the most important setting. This is to give the compressor its initial working order. You determine the starting range for the compressor. Your setting, for example, could be: the tool should compress or reduce everything above a certain level.
  • Setting 2: Ratio. This is the operating range of the compressor which you have previously defined. This is where we tell the compressor how much the compression ratio should be. Common settings are 2:1 or 4:1. In practical terms, this means: if the range should be reduced by 4 dB (because it is 4 dB above the threshold), a ratio of 2:1 would leave 2 dB at the end, a ratio of 4:1 would leave 1 dB, etc.
  • Setting 3: You are so Gain. You have already set the threshold at which the compressor starts compressing. If the compressor reduces the peaks by 4 dB, for example, the overall volume will be decreased by 4 dB. Since the compression will give you some reserves to the top, you can raise the signal again by 4 dB using the gain. Thus, achieving a more balanced sound without loss of volume.
  • Setting 4: Attack! This is where you set the interval time before the compressor reacts or kicks in. This may either be immediately after the threshold is exceeded or with some delay to make the sound less aggressive and the transitions smoother.
  • Setting 5: Release. After what time should the compressor retract or stop working? You can control this by means of the release time. This can be done quite rapidly or somewhat more slowly and thus more naturally.


Examples of application for the individual functions can be found in our little tutorial for Mastering.

For vocals, bass and drums: where to use the compressor

This tool is a real all-rounder. No matter whether for vocals or instruments, it is designed for multiple applications and is extremely helpful:

If we would simply amplify the sound signal without a compressor, unwanted outliers and interference on the audio track would also increase.

Can you notice strong fluctuations in your recording? With the compressor you are able to achieve a more balanced sound:

  • it removes outliers in your vocals,
  • it ensures a clearer snare sound,
  • it reduces interference in the bass.

You can find out exactly what this looks like in our Basics of Home Recording.

Adjusting the compressor is just one additional component of producing

There are many reasons why you might want to produce your own music. Maybe you want to save the costs of an expensive recording studio and keep everything in your own hands. Or, what a surprise, you simply enjoy it. So much so that you look for know-how on the Internet? No matter what your intentions are, we want to give you this practical tip:

"A general rule for vocals: use the equalizer to clean up the signals first and then the compressor. With drums, it is a different matter. In this case, the equalizer in front of the compressor greatly influences the compression behaviour of the compressor which is often not desired. Hence, the equalizer is often better positioned behind the compressor."

— Marco Drewes, musician and technician for IMG STAGELINE

Do you want to find out more about the most important frequencies for vocals, drums, guitar and bass? Then take a look at our article on equalizer settings. This is where you will also find out what else the equalizer has got to do with the compressor.

Finally, the most important thing: do not forget to have fun

No matter whether you get through the settings of the compressor immediately or not, whether you get the hang of it straightaway or it takes you longer: your top priority when making music should be to just have downright fun. Therefore, do not let it drive you crazy, just stay relaxed.

Headergraphik © Adobe Stock - bizoo_n