Gain staging explained: this is how your mix becomes rounder and cleaner
We explain how volume, amplifiers and gain stages are related, and how you can avoid mixing mistakes in the home studio.
In the digitalised world, it's becoming ever easier for young bands to record music themselves. But the various digital effects and tools in mixing bass, guitar and other musical inputs also increase the complexity. This creates many pitfalls that DIY producers can stumble into. Gain stages are such a pitfall. Because without systematic gain staging your mix will often sound unprofessional and unfinished.
Gain staging is a little tricky, but can make huge differences in home recording. So let the coffee run through and clear your head – here comes a crash course in dealing with gain.
And at the end of the article, we have four tips for you for better gain staging.
What's your question?
What is gain?
“Is gain the same as volume, i.e. loudness?" This lack of clarity is a problem in discussions about gain staging and mixing in general.
The gain level describes the strength of the input signal into a device. Volume describes the audible output.
Example: the audio signal leaves the microphone with a certain gain level and goes at that level into a preamplifier to which the microphone is connected. The preamplifier amplifies the signal and outputs it with more gain. Then it goes into the next device with the stronger input, for example the mixer.
Volume is practical loudness, gain is "just" the amplification of the audio signal
Keep in mind that "gain" is simply another word for "increase".
Volume is the loudness of the signal that ultimately emerges from a connected speaker, for example. Gain, on the other hand, amplifies the signal, usually for the next device in the signal chain.
Many English-speaking sound engineers also talk about volume as "sound pressure level". Lots of guitar amplifiers have a volume pot and a gain pot (sometimes called "drive"). If you turn up the volume pot, the sound becomes louder, but the character of the sound does not change. If you turn up the gain pot, the sound will also get louder, but at some point the signal begins to overdrive, i.e. to distort. The latter can be a desired effect in guitar amps, for example (keyword: distortion).
This means you can generate a high volume even with low gain or no gain at all, just using the volume control. Because then you simply make the original signal louder. However, if the gain control is turned up high, the sound will be relatively loud even with a low volume setting because more signal strength flows to the speaker. However, this can change the sound characteristics.
What is a gain stage?
You could turn up the gain control on the guitar amplifier just enough so that the speaker doesn't overdrive. Then you have a clean, full signal. You can adjust the volume using the volume pot.
Balancing gain and volume is easy on a single device. You can easily find out the “gain limit” for overdrive by trial and error.
But this only works if there are no subsequent devices in the setup. More precisely, this only works if the path between the signal generation and the speaker system is very simple and direct.
But since most rehearsal room setups consist of amplifier, microphone, effect unit, mixer, plug-ins and computers – not to mention recording setups, we have to manage the gain at different stages. These stages are gain stages. Every device and software within production where you can change the gain is a gain stage. Each of your signals almost always has several gain stages. You can change the guitar signal at least on the amplifier itself, on the effect unit, on the interface and through plug-ins in the DAW software. That alone is four possible gain stages for an instrument, even before all the tracks come together in the master track .

What is gain staging and why do we need it?
Gain staging describes a process that involves managing, balancing and modulating the different gain stages in a signal path. If this is not done, signals can overload, distort, produce noise or, especially with analogue components, become noisy. This happens because audio tracks or audio devices cannot tolerate unlimited volume/level (and thus gain). It is not without reason that audio tracks in DAW software are visualised as a wave (also: waveform): This wave reflects not only the amplitude but also the characteristics of the signal (a flute sounds different and also looks different in the wave display than a guitar). The user can therefore immediately see how loud or quiet the track is at a certain point. If a track has too much gain, i.e. the signal level is too high, it literally reaches its limits. The signal is then cut off at the upper and lower peaks and sounds distorted. This so-called clipping should always be avoided - it ruins every mix!
So, unless you are dealing with intentional square wave sounds from a synthesiser or similar, you should be alarmed whenever you see "square waveforms" on your audio tracks.
A signal that is too loud could lead to unwanted clipping and is now literally crying out for level correction.
Why does so much gain end up on the track?
Many producers listen to the individual, isolated audio tracks of their recording project for too long. They regularly forget to listen to the overall mix and unconsciously "stack" gain. A little gain is added in the preamp, in the effects unit and in the DAW software as well. In this way, the background noise gradually increases in the overall mix. At some point the recording process reaches the stage where the fattened, very "gainy" signal is difficult to repair.
Most home studios work with too much gain on the individual tracks, or simply record too loudly from the start. Just being aware of this helps.
What is "unity gain"?
A unit is set to unity gain when the incoming signal level equals that of the outgoing signal (usually 0 dB setting, i.e. gain = 1). The audio signal is not influenced in its level, so to speak. More clearly, if all the units in the signal chain are set to Unity Gain, you should be able to take out any one of them without changing the signal strength at the output of the last unit.
How does good gain staging work?
1. Record more quietly overall – this gives you more upside scope before clipping occurs
When you record instruments, look at your level meter. Try to set the level to -18 dBFS on average, with peaks up to a maximum of -10 dBFS. If you record too loudly, the recording will end up sounding weaker because there is less gain margin. Use a VU meter for this. The more dynamically an instrument is played, the more carefully it must be levelled and the more attentive you should be. Example drumset: From a soft "caress" of the ride cymbal to a powerful slam on the crash cymbal, everything is possible and drastically different levels occur.
2. Remember that after mixing the song will still have to go through mastering
You're making life incredibly difficult for the person responsible for mastering if you've already exhausted the gain margin. At the end of the mixing, leave upside scope of at least 6 dB. Make sure to keep the master track fader at 0 dB if possible. If the master track is already in the red zone, the mastering doesn't have enough space.
3. Plug-ins without output controls are dangerous for gain staging
Because many plug-ins automatically add or subtract gain. Another plug-in that can control the output level of plug-ins can help here.
4. Bus channels are also a gain stage and require gain staging
Bus channels are often forgotten in mixing. But the buses are easy to regulate. If the signal coming in is too "hot", simply add a gain plug-in at the beginning of the plug-in chain. Turn down the gain plug-in and you're done. The order of the plug-ins could be:
- gain plug-in
- compressor
- Overdrive
- mv meter
Note: A good production, whether live or in the recording area, stands and falls with careful signal control.
With these tips you should get noticeably better results when you record your own music and mix it. For further classic pitfalls, check out our article on the greatest sins in home recording.
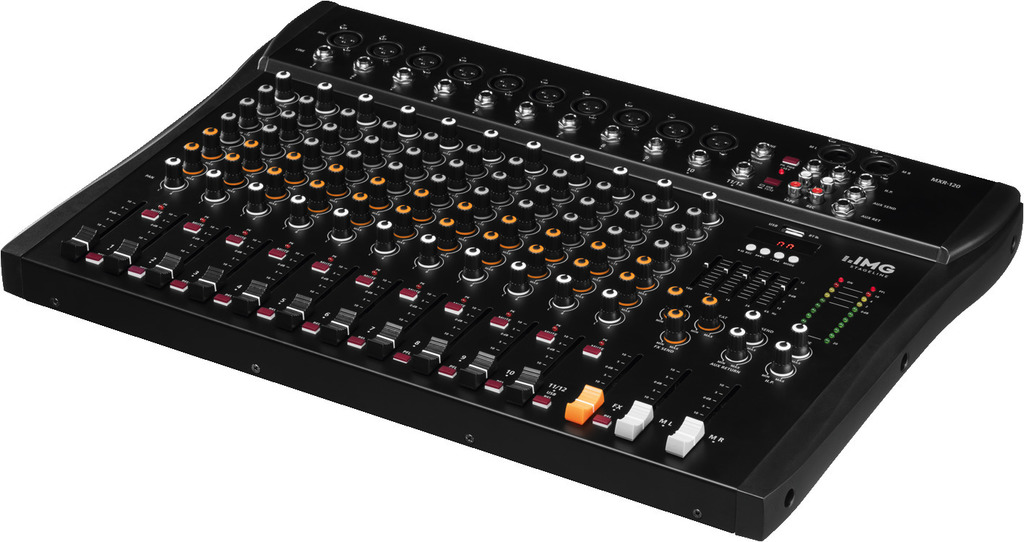
MXR-120
12-channel audio mixer,
with integrated MP3 player and Bluetooth receiver.
Integrated USB audio interface (will be identified and…
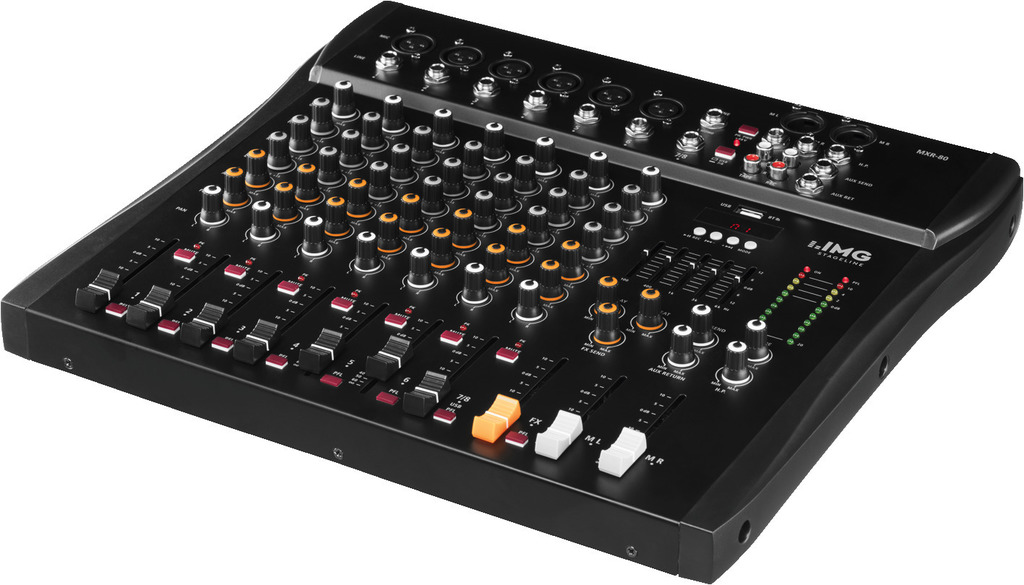
MXR-80
8-channel audio mixer,
with integrated MP3 player and Bluetooth receiver.
Integrated USB audio interface (will be identified and…
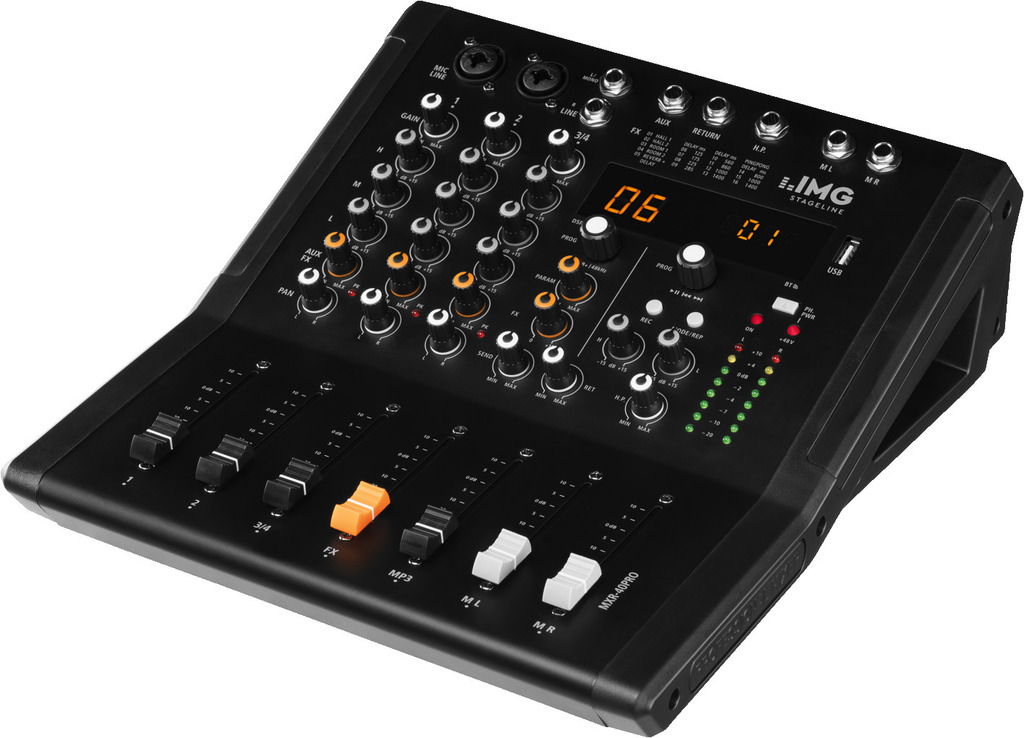
MXR-40PRO
Professional 4-channel audio mixer,
with DSP effect unit, integrated MP3 player and Bluetooth receiver.
Integrated USB audio interface…
Pictures © Christoph Eisenmenger, sakhorn38 - stock.adobe.com
- 6 December, 2019
- 18 May, 2019
- 18 May, 2019

