


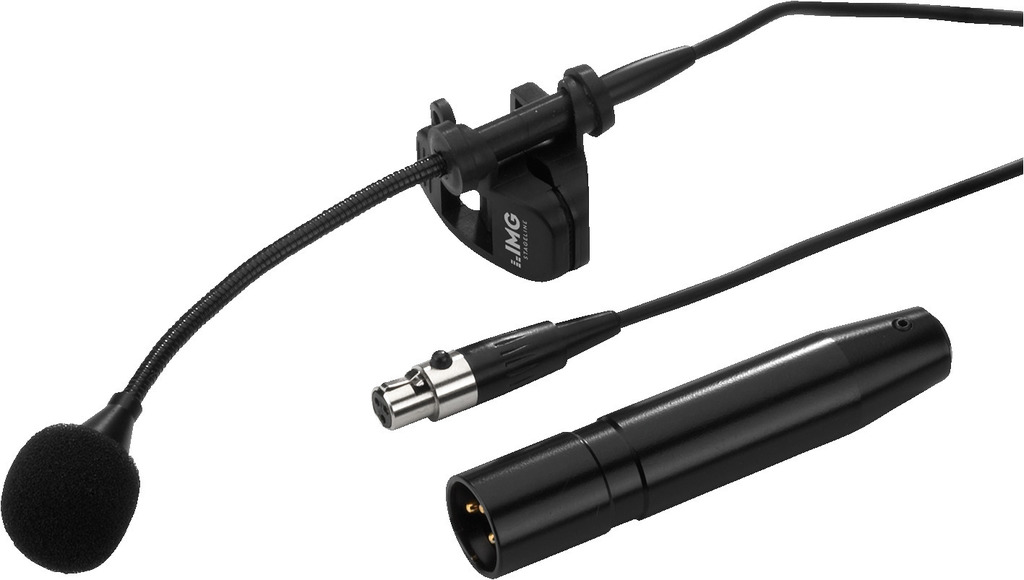
ECM-270
Ideal for direct or overhead miking of acoustic instruments and vocals.
Ideal for direct or overhead miking of acoustic instruments and vocals.
Microphones: just buy them and set them up? A lot of potential remains untapped. We'll give you some practical advice on how good positioning can help you achieve better results. All this on a small budget and based on tips that you can use immediately.
With all our tips for your rehearsal room setup, we assume that you already have a mic for the vocals and that your rehearsal room already has a PA system. For all setups, you also need a mixer – but not necessarily an expensive one. That's why we've provided direct links to affordable yet suitable options.
Good volume management is the be-all and end-all! Only play as loud as necessary and place your amplifiers close to the respective instrumentalists.
Relieve the singer acoustically – vocalists need to be able to hear themselves and shouldn't have to yell over loud guitar amps and drums.
Or even better: go with in-ear solutions, which don't need to be wireless in the rehearsal room!
The simplest, but often surprisingly effective miking involves placing an omnidirectional microphone in the room. In principle, for an uncomplicated recording session, room microphones should have omnidirectional characteristics, recording microphones for direct pickup at the sound source have (super) cardioid characteristics, meaning they are directional. It's best to position your room microphone at ear level in the centre of the room. All sound sources should hit the room microphone without first reflecting off a surface. Make sure you don't hit the mic stand while playing.
Ear level for PA speakers and mics is also generally a good idea for recording in the rehearsal room (except for singers and instruments), because it ensures that the sound is "realistic" for you and your mics. You then hardly have any discrepancies between:
the sound you hear,
the sound the mic "hears",
and the sound that your listeners will later hear.
By the way, we cover the topic of "Condenser or dynamic microphones?" extensively on our Microphones topic page, where you can find a summary in "Types of microphones in our product range". And in this article, we write about microphone polar patterns.

In that case, we recommend so-called XY miking. This is the easiest way to achieve a pleasant stereo sound. You join two microphones together using duct tape or a clamp. And we mean "put together" here in a very practical way: take two microphones that are as identical to each other as possible with the same polar pattern and place them "criss-crossed", for example at a 90° angle, ideally capsule to capsule. The principle here is that a larger angle produces a wider stereo signal. You can experiment a little; the maximum should be approx. 130°. Excessively wide angles create an acoustic hole. Then place your new stereo microphone in the middle of the room. This creates two mono recordings, each on a separate track. You can them split them into left and right in Mix by panning. The trick here is that the arrangement of the microphones creates level differences in the recording channels, so-called intensity stereo. This small difference in positioning is sufficient to create a stereo effect. With this method you obtain a controllable stereo sound, even in a confined rehearsal room.
In that case, we recommend so-called XY miking. This is the easiest way to achieve a pleasant stereo sound. You join two microphones together using duct tape or a clamp. And we mean "put together" here in a very practical way: take two microphones that are as identical to each other as possible with the same polar pattern and place them "criss-crossed", for example at a 90° angle, ideally capsule to capsule. The principle here is that a larger angle produces a wider stereo signal. You can experiment a little; the maximum should be approx. 130°. Excessively wide angles create an acoustic hole. Then place your new stereo microphone in the middle of the room. This creates two mono recordings, each on a separate track. You can them split them into left and right in Mix by panning. The trick here is that the arrangement of the microphones creates level differences in the recording channels, so-called intensity stereo. This small difference in positioning is sufficient to create a stereo effect. With this method you obtain a controllable stereo sound, even in a confined rehearsal room.
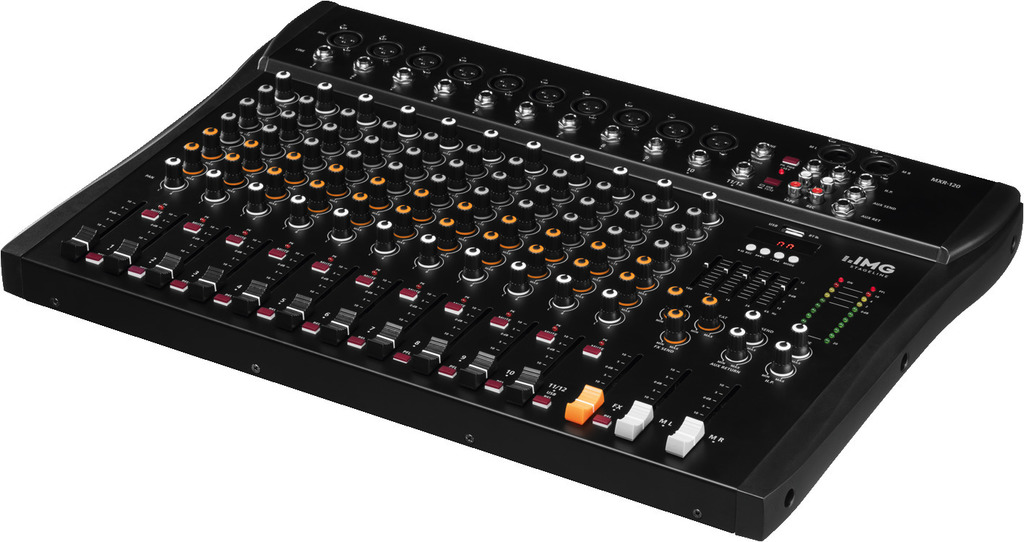
Then we suggest combining room and pickup miking. To have a bit more control over the sound when setting up the rehearsal room, you can use one or two room microphones and also pick up other instruments in the band individually and therefore separately on your mixer [###Link zu: www.img-stageline.de/produkte/mischpulte] to also mix individual instruments better through targeted individual pickup.
This minimalist set-up would be possible, for example, based on a mixer with 4 channels for under 100€:
Room mic, first mono track
Room mic, second mono track. Caution! Poor placement of both room mics can result in cancellation and comb filter effects, so keep the 3:1 rule in mind: if your instrument is at a certain distance X from a mic, then when recording the same instrument, the next mic should be at least three times that distance (= 3X) from the first pickup mic. So in plain English: if you record an instrument and microphone 1 is 20 centimetres away from the sound source, microphone 2 must be at least 60 centimetres away from microphone 1.
Kick drum with a dynamic microphone
Optional: overhead mic for the drums
The big difference in the case of the home studio (which of course can also simultaneously be the rehearsal room) is that we don't want stereo sound here. After all, we later want to edit the recordings in the DAW and once the stereo sound is on the audio track, it's difficult to get rid of. For a home studio, we therefore recommend picking up each instrument individually. The rule here is that a short distance between the mic and the instrument or amplifier reduces the stereo sound. The greater the distance from the mic to the sound source, the greater the stereo sound on the recording or on your monitors.
Recording a drum kit with just a single mic is basically impossible. An overhead mic will pick up all the drums, but the kick drum is the bare minimum in terms of direct miking. When microphones were scarce commodities, drum recordings using two microphones was understandable. Today, when you have good dynamic microphones out there for less than €35 you can go for more – and this is obviously noticeable in the sound.
If you have three mics for the drumset, use two overhead and one for the kick drum. That way, the overheads can record in stereo. The best choice in this case are condenser mics like the ECM-270.
The next priority for more mics would be the snare, then all the toms, then the ride cymbal. So you could use a 7-piece mic set as follows:
bass drum mic
snare
tom 1
tom 2
tom 3
Condenser overhead mic, mono track 1
Condenser overhead mic, mono track 2
With the mic for the kick drum, you can experiment with the distance: closer to the head creates more kick, a greater distance creates a dull punch. A mic at the edge of the cymbal or the hi-hat sounds more brilliant, more treble-heavy. Centrally above that sounds a little deeper, more bell-like. A similar effect with the toms: the closer to the centre, the duller and more powerful the toms sound, the further to the edge, the more "kick" you pick up from the toms. With the snare, you can decide: if you want to record from above, the punch on the head is more audible, from below you have the "rattling" of the snare. Of course you also have to mix the drum tracks of the individual mics, that's why a mixer with 12 channels makes sense.
With amps, or speakers in general, you either pick up at the edge of the speaker, which sounds a little softer. Positioning the microphone centrally picks up more overtones, and the speaker usually sounds crisper there. It also makes sense to place the amp on a platform to decouple it from the floor.
The most common instrument here is the acoustic guitar. Here, you mike it using a condenser microphone about 10-20 centimetres from the 12th fret. An additional "admixed" microphone, adhering to the 3:1 rule, is sometimes useful. – Here again, it's worth experimenting a little. Position the mics slightly closer to the fretboard for a wider sound. The sound is often too oppressive directly in front of the sound hole, especially in the case of a large body. Condenser microphones are very good for pickup. Here it would also be legit to cross a large-diaphragm and a small-diaphragm mic. Play with the distance between the microphone and the instrument a little: do you want more of the scratching of the plectrum and the handling noises on the recording, or do you want a cleaner sound?
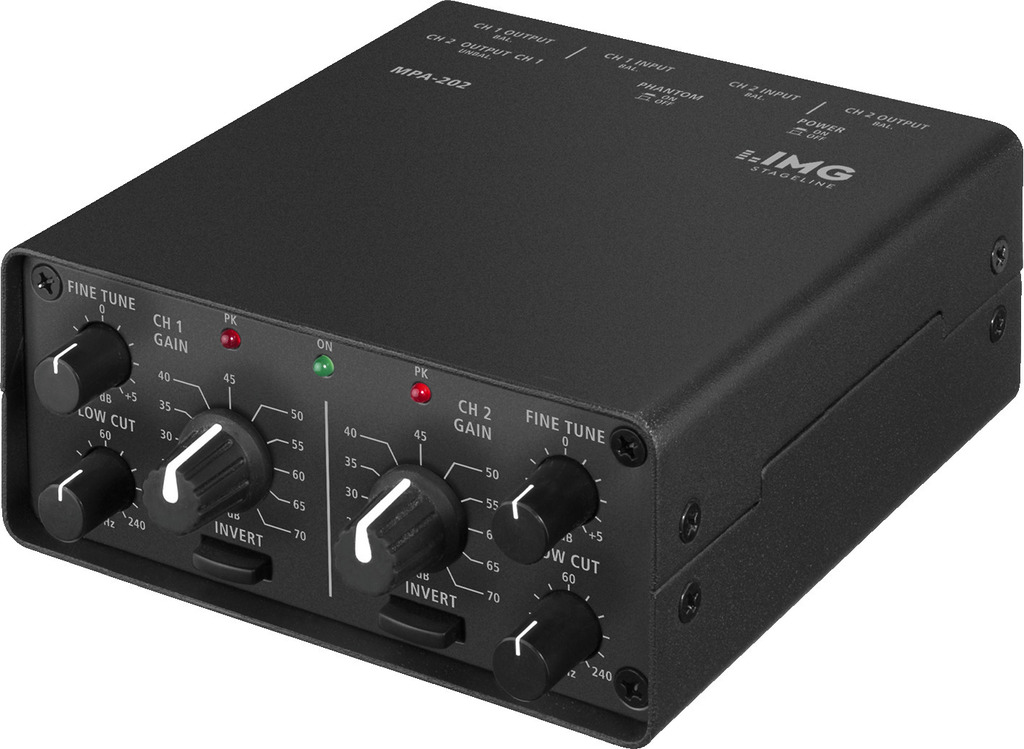
For other acoustic instruments, especially wind instruments, use clip microphones or normal microphones on a stand. If the signal is too quiet, amplify it before the mixer using a microphone amplifier – this usually also features a a low-cut if you want to clean up the mix a little before the mixer.
Use improvised partitions between your sound sources. To make sure that not all sound sources indirectly interfere with all the microphones separate the miking of individual instruments from one another. A mattress, a partition or a blanket between the individual amps makes an audible difference. Of course, this is only important if several instruments are being recorded at the same time.
Prevents background noise from external devices. In particular, electrical equipment that generates fan noise should be kept away from your microphones. These might be analogue amplifiers or computers. But fridges and heaters can also accidentally end up on your recording. And of course: switch mobile phones off!
Do not set up any PA speakers in the corners of the room! What does this have to do with miking? A speaker in a corner of the room produces reflections and a significant level increase in the low bass range. Room corners are mostly 90° angles, while most PA speakers radiate much wider. Bass radiates much wider still. And so a mic standing in the corner in front of a speaker box not only picks up reflections (and thus an unclean sound pattern), but also an excessive bass response.
Ultimately, of course, the two scenarios can overlap. The recording techniques are never hard and fast and budgets and your own requirements are individual. The best results are achieved through intensive experimentation.
Not enough inspiration for your recording practice? Here are a few tips on how to insulate your rehearsal room and how it can improve the room acoustics or what the classic pitfalls in home recording are.
Picture © LENNA