17 April, 2020

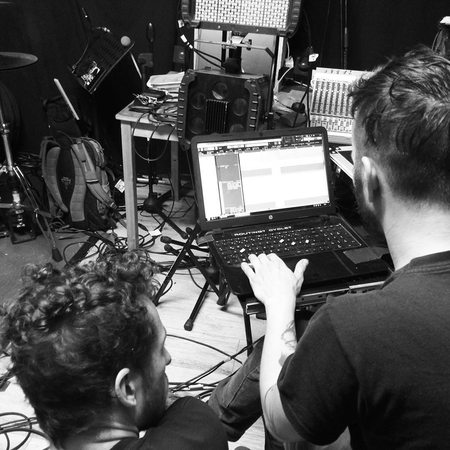
Are you out to make a name for yourself in the media? Honestly, there has never been a better time to get started than now. The podcast hype is far from over, and podcasts are going from strength to strength. Livestreams on Twitch and YouTube are also attracting more and more web users. It doesn't take much to package your content in engaging formats. There's no reason to leave your ideas for a Let's Play channel or comedy podcast in the back of a drawer. We can show you what equipment you need to get started and which beginner's mistakes you can avoid straight away.
All you need to make a recording is a mobile phone running Android or iOS. Simply use the pre-installed audio recorder or apps such as Anchor and you're good to go. Looking to broadcast for the long term? If so, be prepared for high expectations from your subscribers because the standard for audio formats has risen significantly in recent years. But don't worry. You don't need a recording studio to achieve a high quality, you can do it at home. First though, you should be aware of some common beginners' mistakes as well as the right equipment to use for podcasting and streaming.
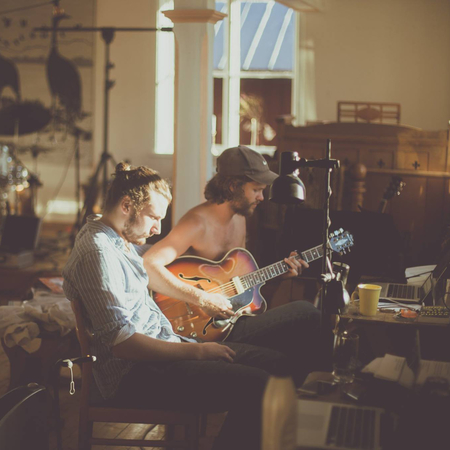
Besides the smartphone, the simplest set-up for podcasting is a microphone, headphones and a computer. Your microphone is the most important piece of kit you need.
Consider the sound quality of your podcast or stream as a yardstick: even great moderation and the best content can’t make up for poor audio quality.
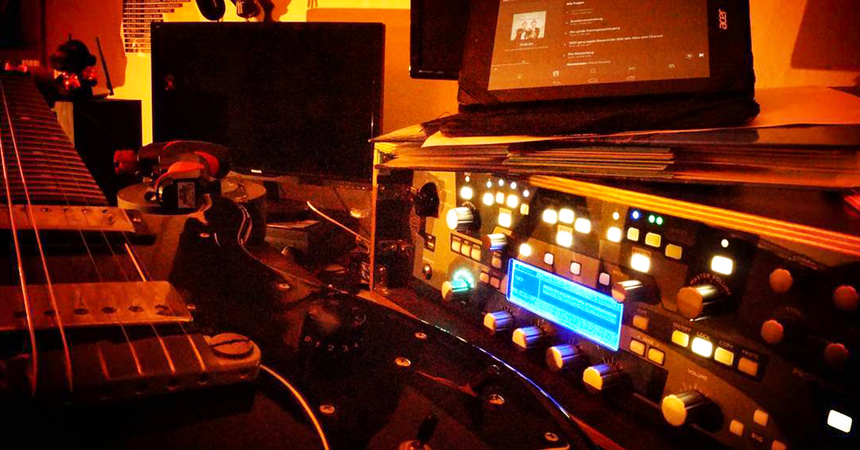
Even the best mixing can't fix that. USB microphones can be plugged directly into the computer and require no additional accessories other than headphones. Ready to record in seconds! The preamplifier and A/D converter (analogue-digital converter) are already integrated here. The downside is that when your mic does all the digitising for you, you have less control over the result. A microphone with an XLR or jack connector is something different. Depending on the type, you connect it to an audio interface via XLR cable or jack cable and can regulate the input impulse for the computer yourself. This way, you avoid overloaded signals by gain staging right from the start.
Whether via an interface or directly via USB, condenser microphones are the most accurate way to record your vocals. They translate vocals, speech and acoustic instruments into detailed sound. Just a little word of warning though – because condenser mics are so sensitive, they need a quiet environment. Just imagine yourself doing a recording.
Some podcasters and streamers use headsets, i.e. headphones with a microphone directly attached. This guarantees freedom of movement. However, in many cases the sound quality of condenser microphones is higher.
Two must-have tools are a pop filter and a stand with a microphone shock mount. They give you a significant improvement in recording at an affordable price. The pop filter softens so-called "explosive sounds" in human pronunciation. Hard consonants in particular (p, b, d, t) build up air pressure and disturb the sound pattern. Vibrations have the same effect. Touching the stand, kicking it or your interviewee vigorously hitting the table will result in a bang on the audio track. Therefore, make sure you have a microphone shock mount on the stand. It allows the microphone to vibrate freely and absorbs shocks.
A lot of reverb on the recording? Don't use egg boxes! Heavy curtains, carpeting or even a mattress placed on its side are good sound absorbers. Learn more about rehearsal room acoustics.
There is a wide range of products on offer for sound recording and editing, as you would expect. However, a DAW (Digital Audio Workstation) does not have to be expensive or difficult to use. Audacity or GarageBand are free examples. Use simple tricks to fine-tune your recordings: set the compressor correctly to adjust level differences – just don't overdo it. Adjust the sound track until it reaches the maximum level (usually -0.3 dB). An equaliser fine-tunes the timbre and matches the highs and lows.
Less is more: as a beginner, don't mess around with your audio tracks too much.
You will need a hosting platform such as Podigee or Buzzsprout to publish your content. They compile an RSS feed for you from individual episodes of your podcast. Put more simply: you can't upload your episodes directly to Spotify or other streaming services, but you can upload them elsewhere (hosting platform). Spotify & Co. get their information from there.
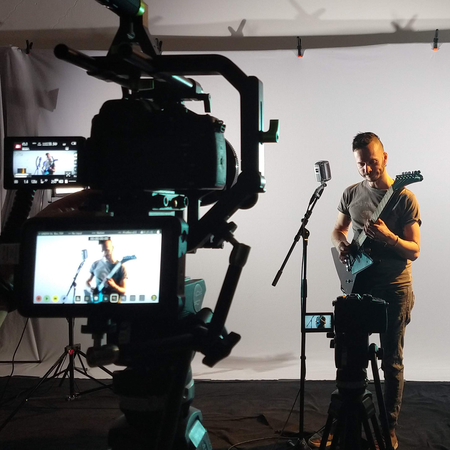
You want to broadcast your content live? There's a suitable DAW for that too. With Reaper and the ultrasonic extension, your recording becomes a public stream. The big advantage of this is that ultrasonic provides a whole range of other features. You can conduct remote interviews, play jingles or communicate with listeners via live chat directly from the software. Audio alone is not enough for you? OBS Studio also generates streams with video content.
Test your internet connection before live-streaming! Video streaming (720p) requires an upload speed of at least 3Mbit/s
Our tips will make your content web-ready! Look no further than IMG Magazine for more content on DIY Recording. Have fun browsing!
Bildquelle Headergraphik: © Christoph Eisenmenger